














Before you order a banner, decide where it will hang, what someone should read first and how it will attach. A sharp PDF cannot fix a headline hidden behind a pole or a banner that does not fit its frame. This guide takes you through six practical checks before using our banner printing calculator.
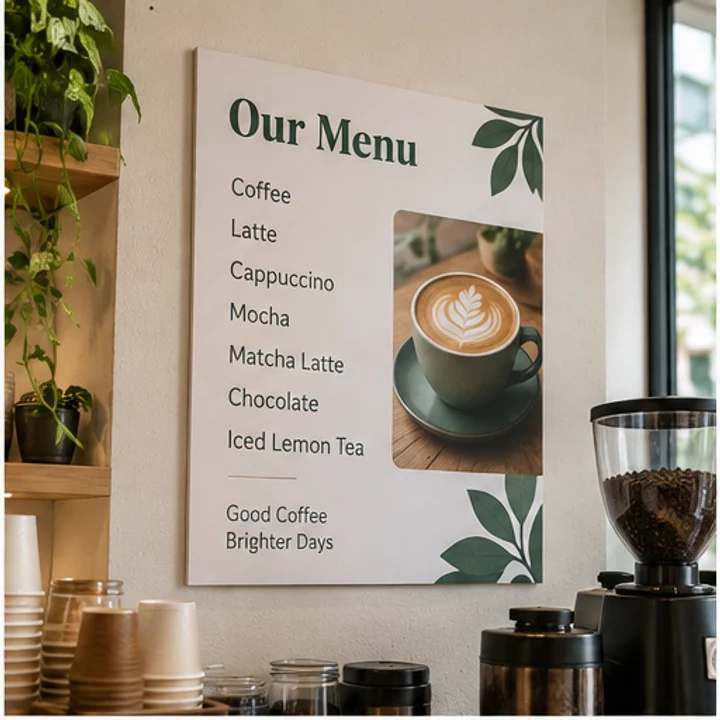
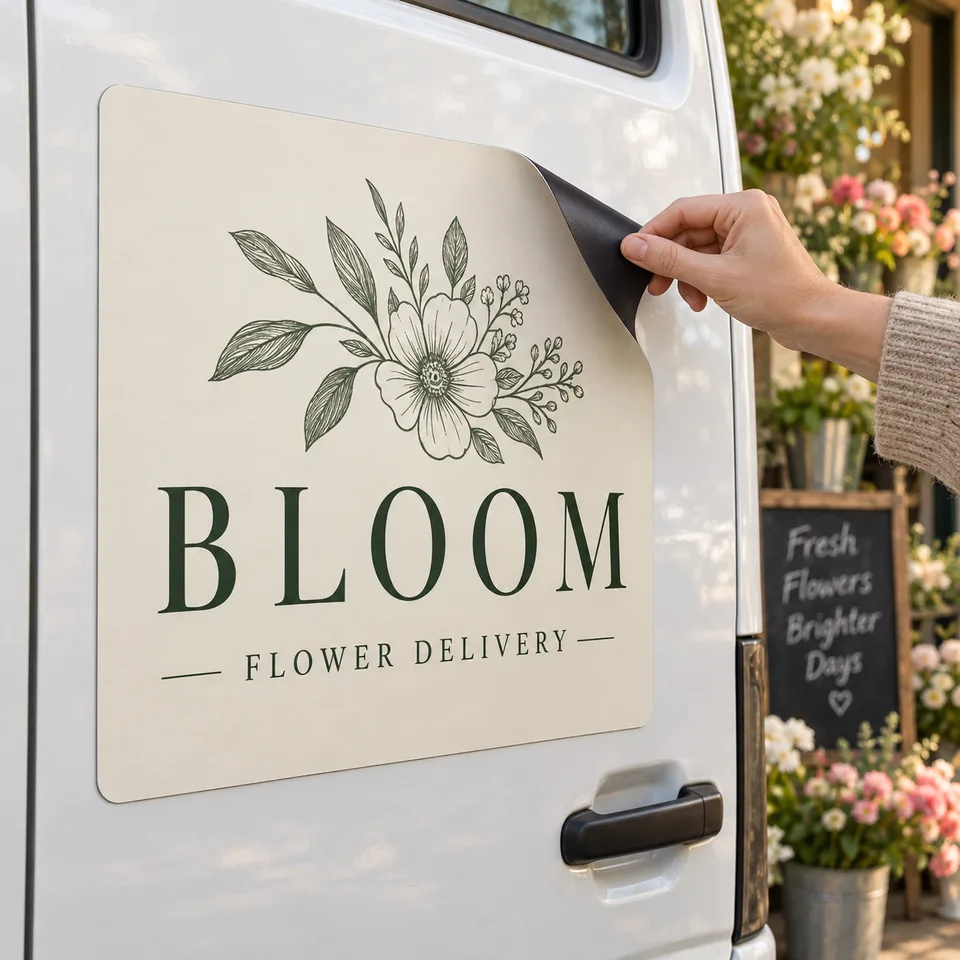
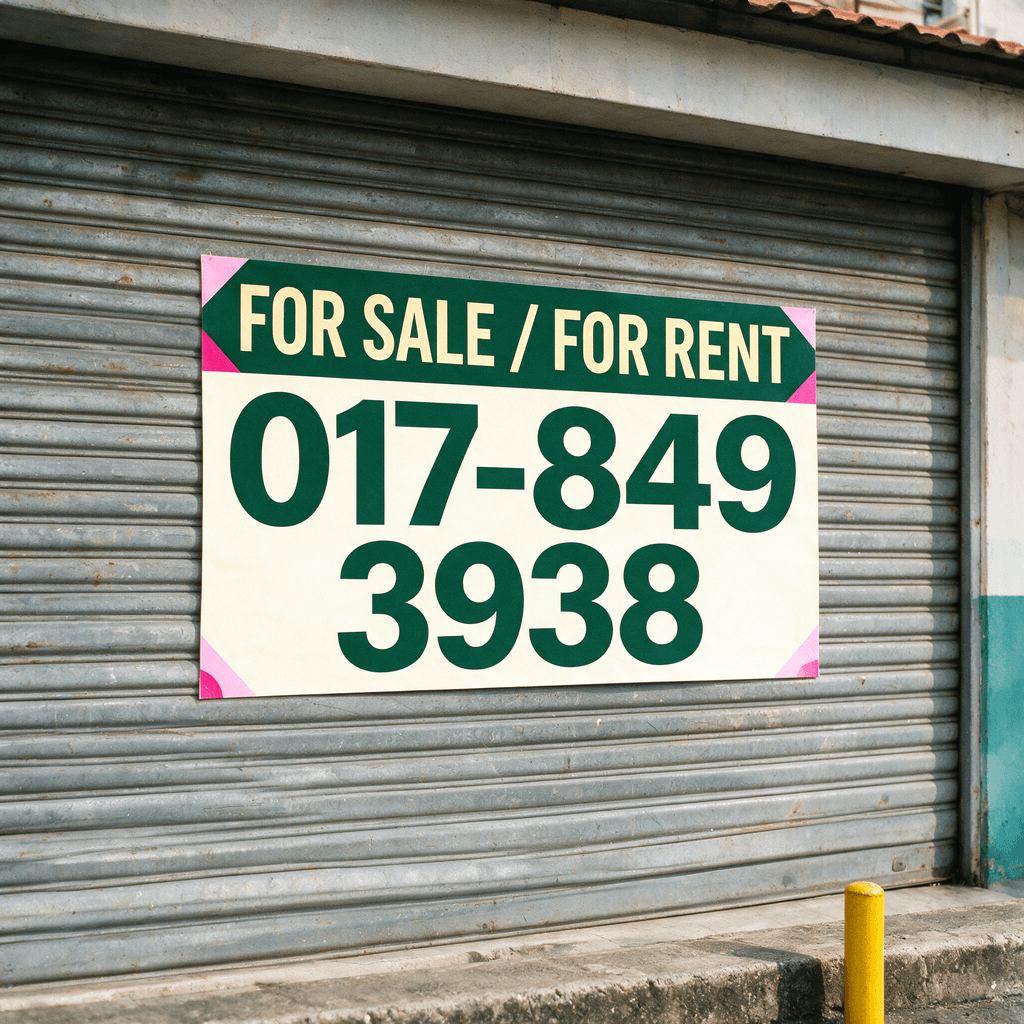
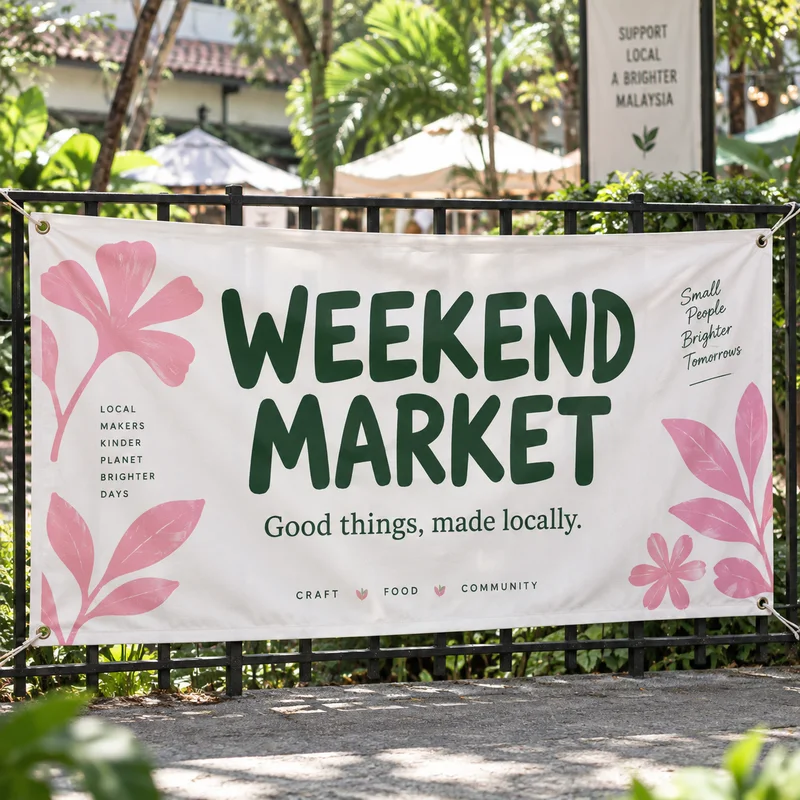
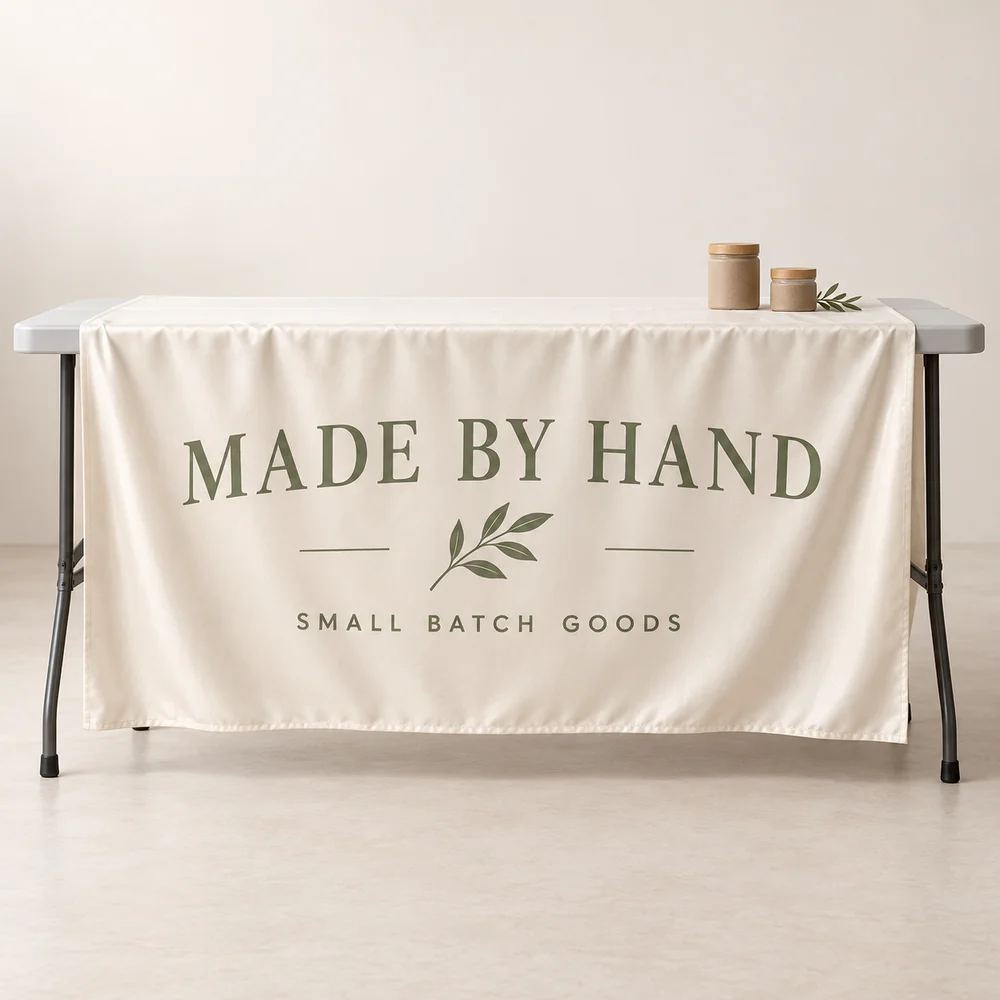
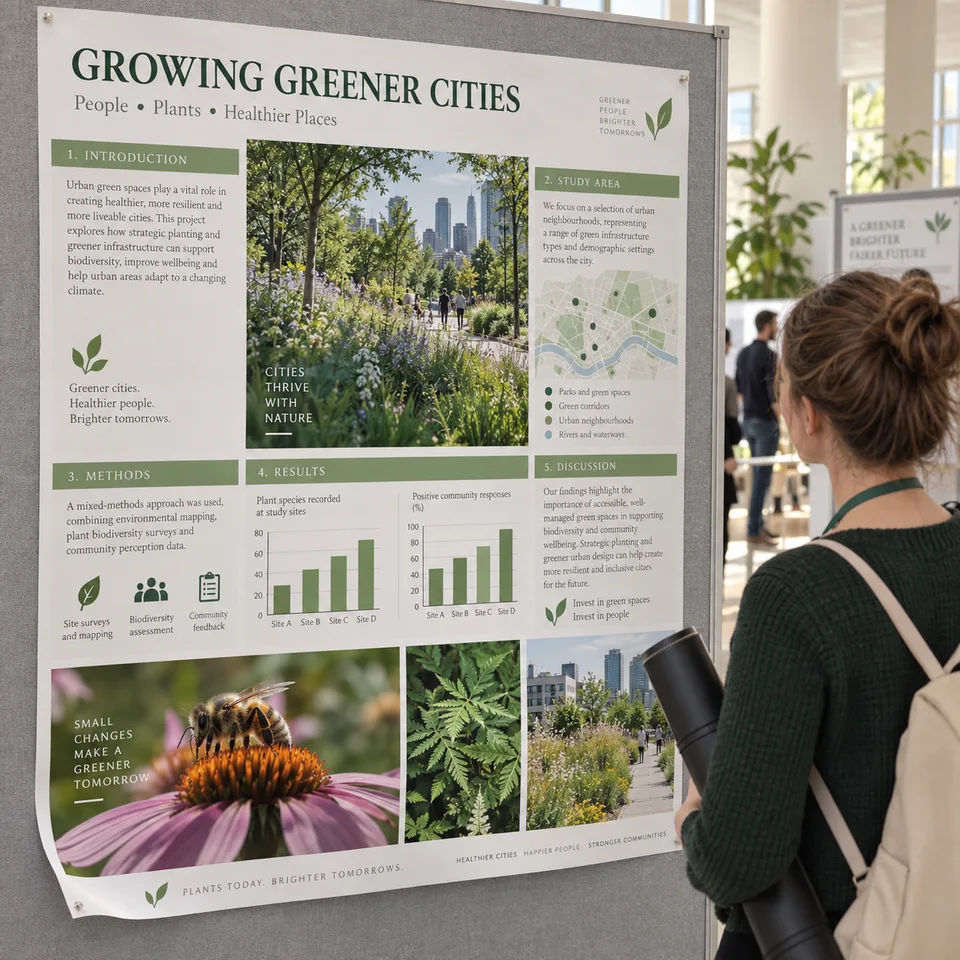
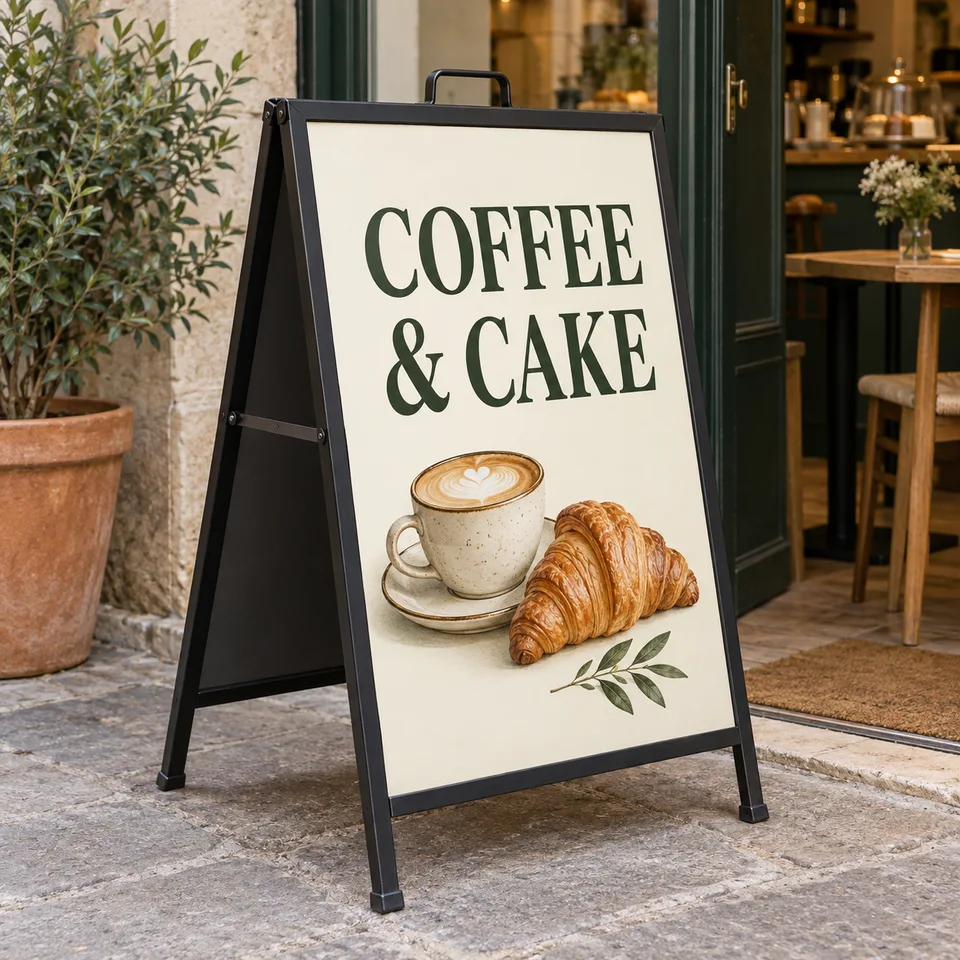
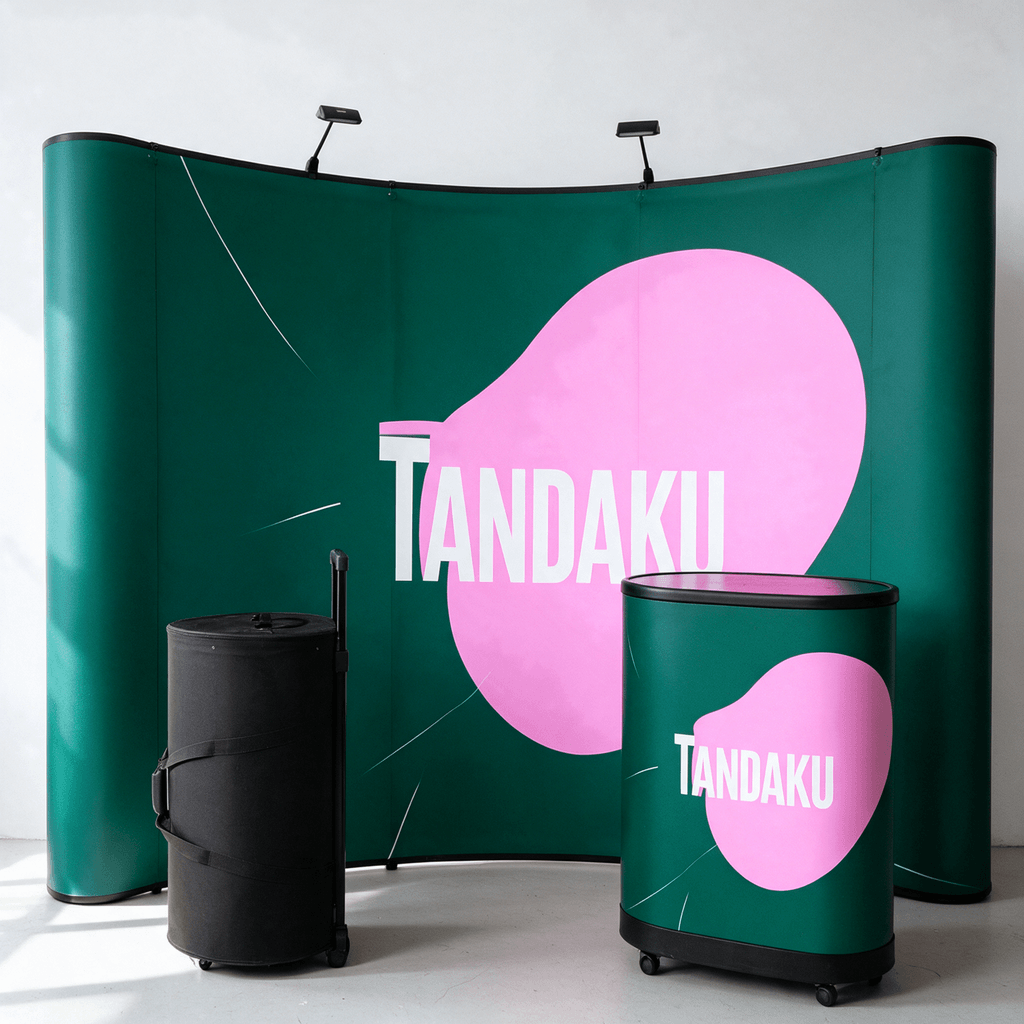
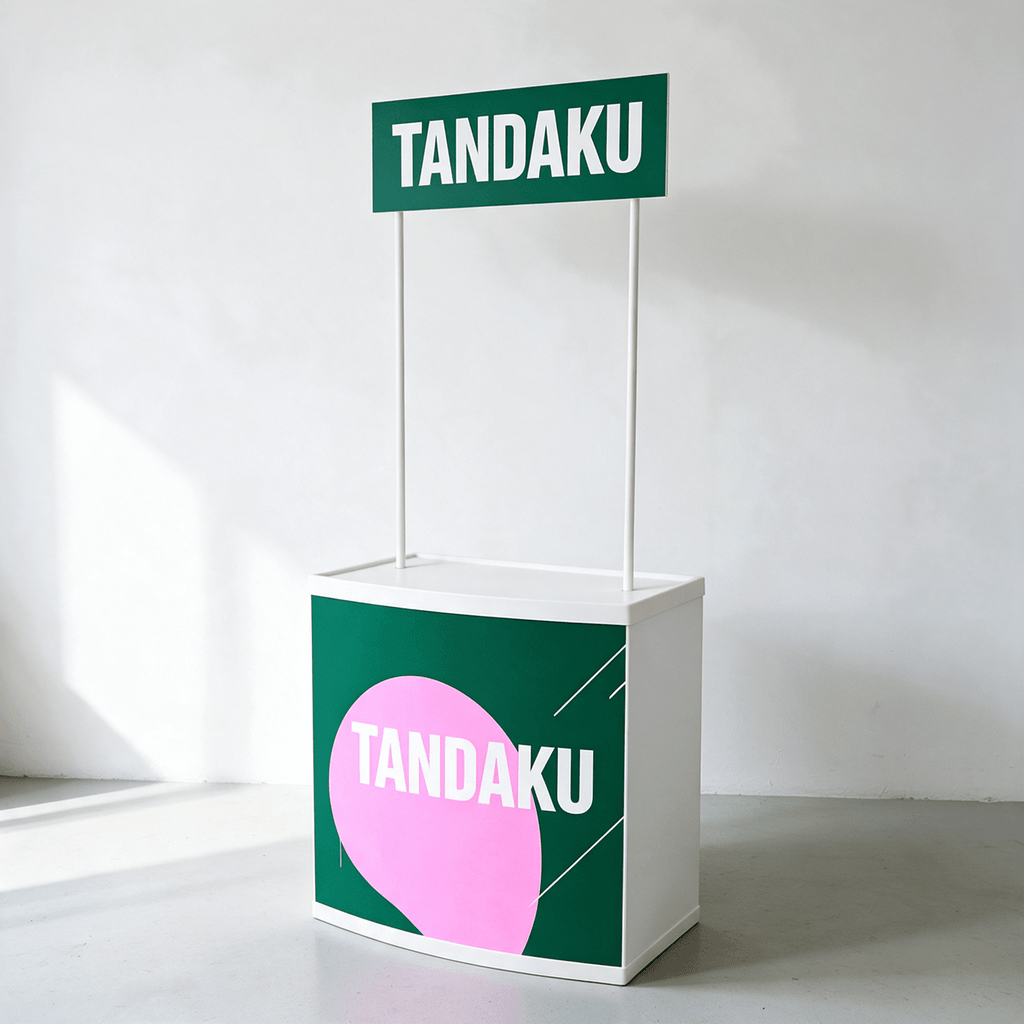
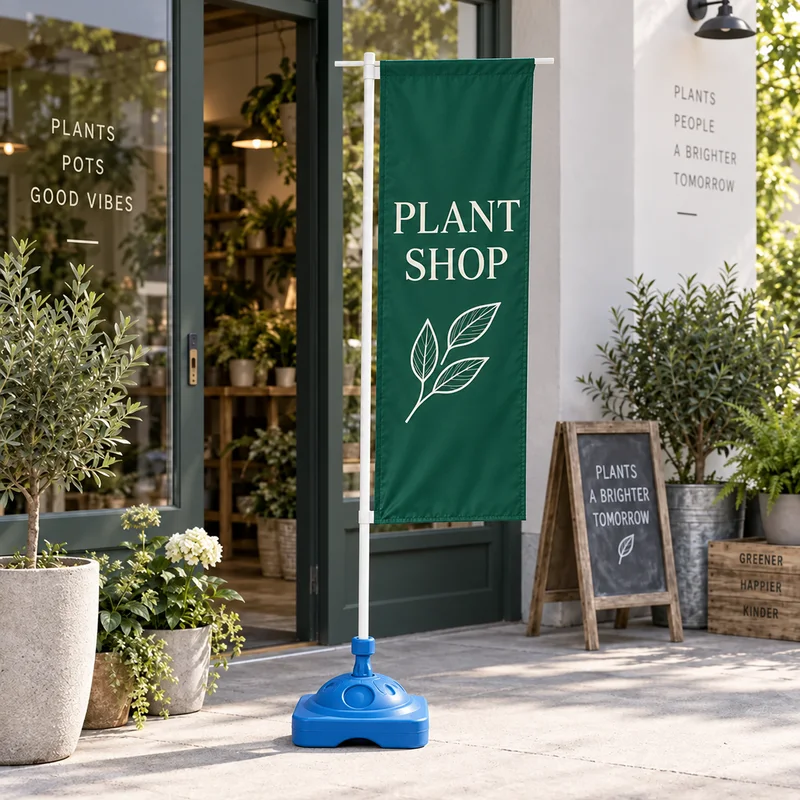
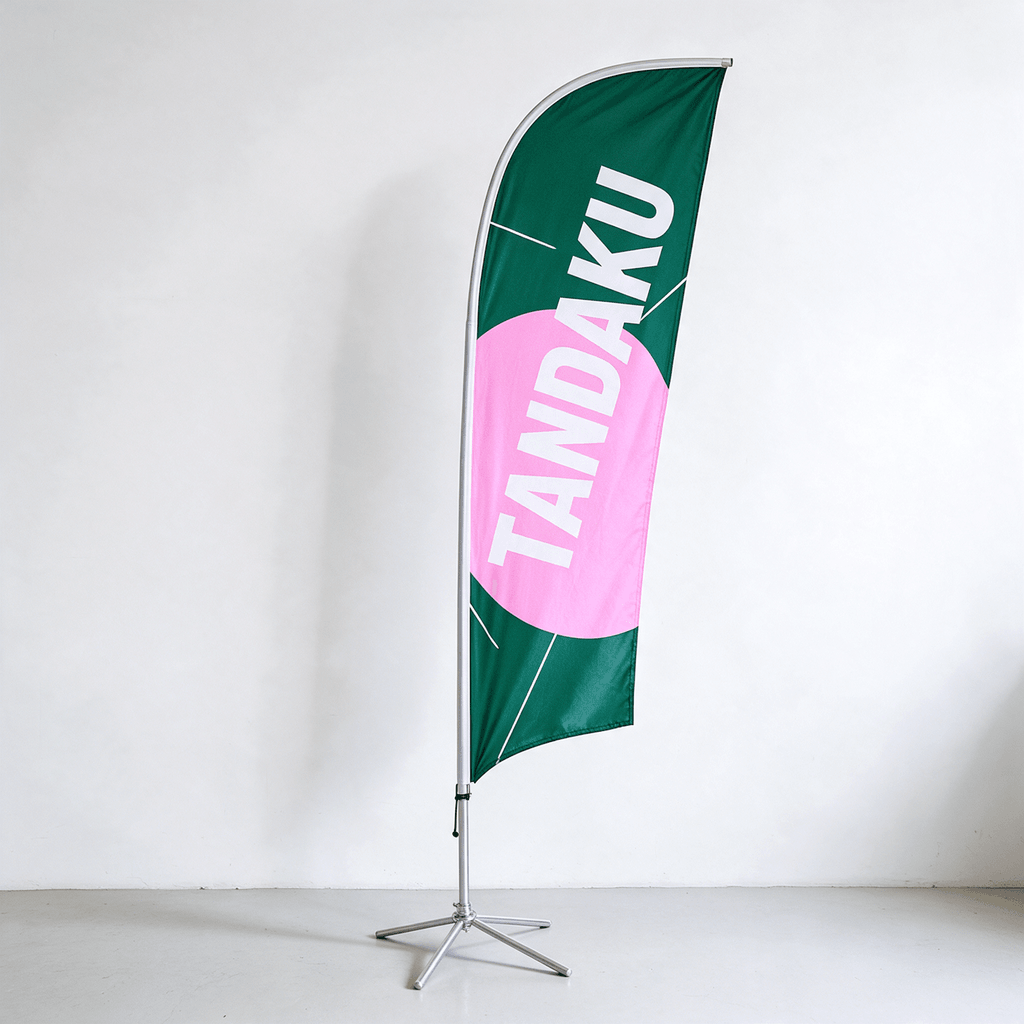
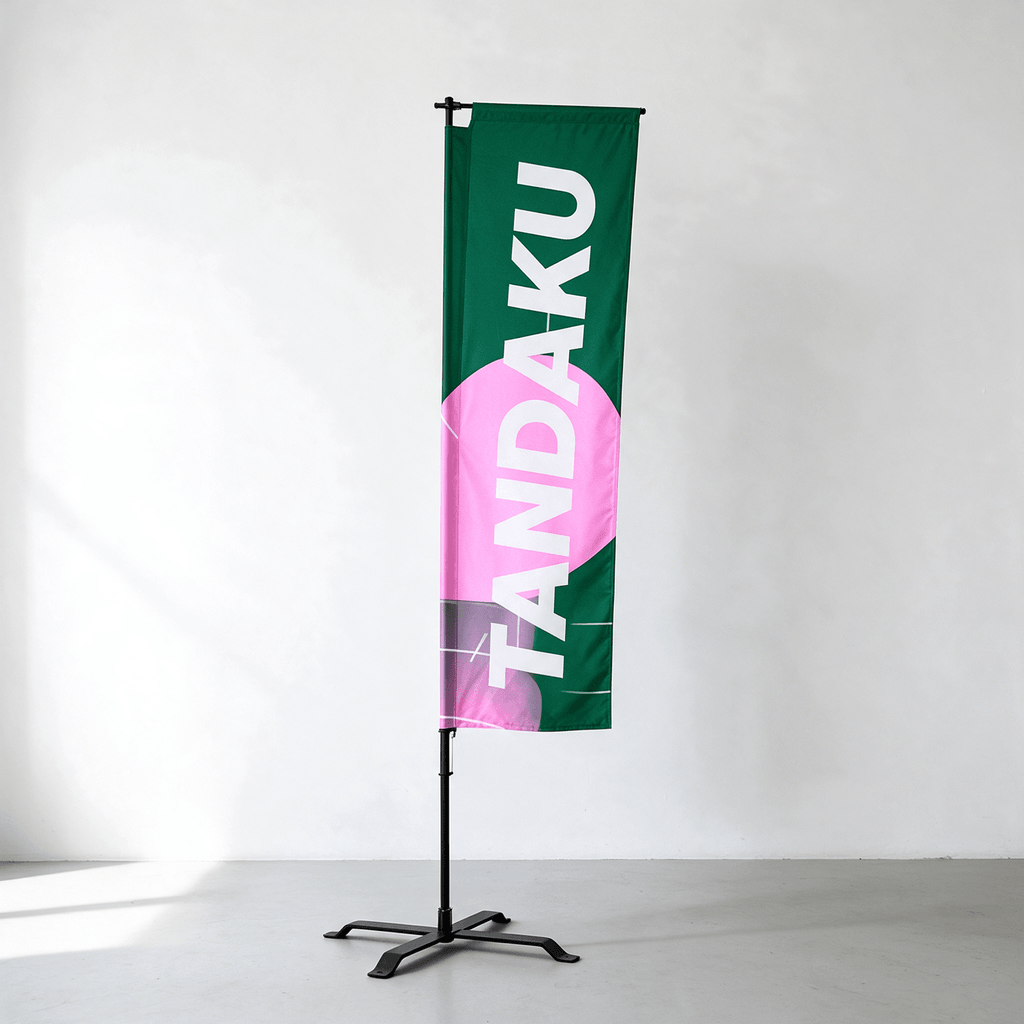
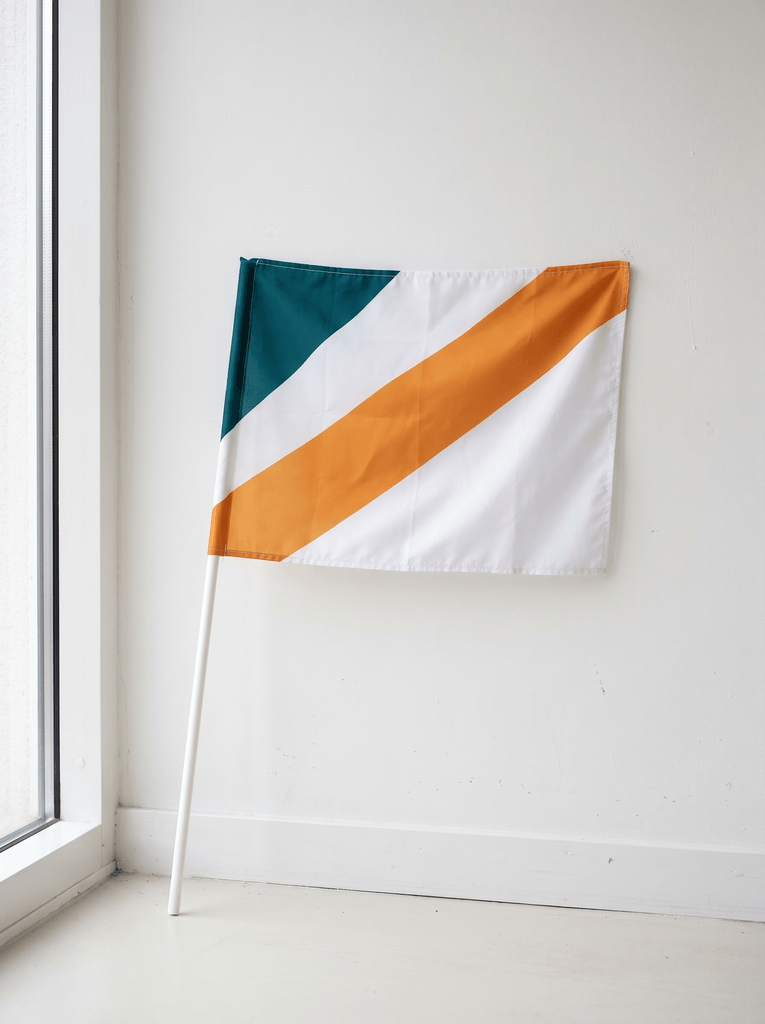
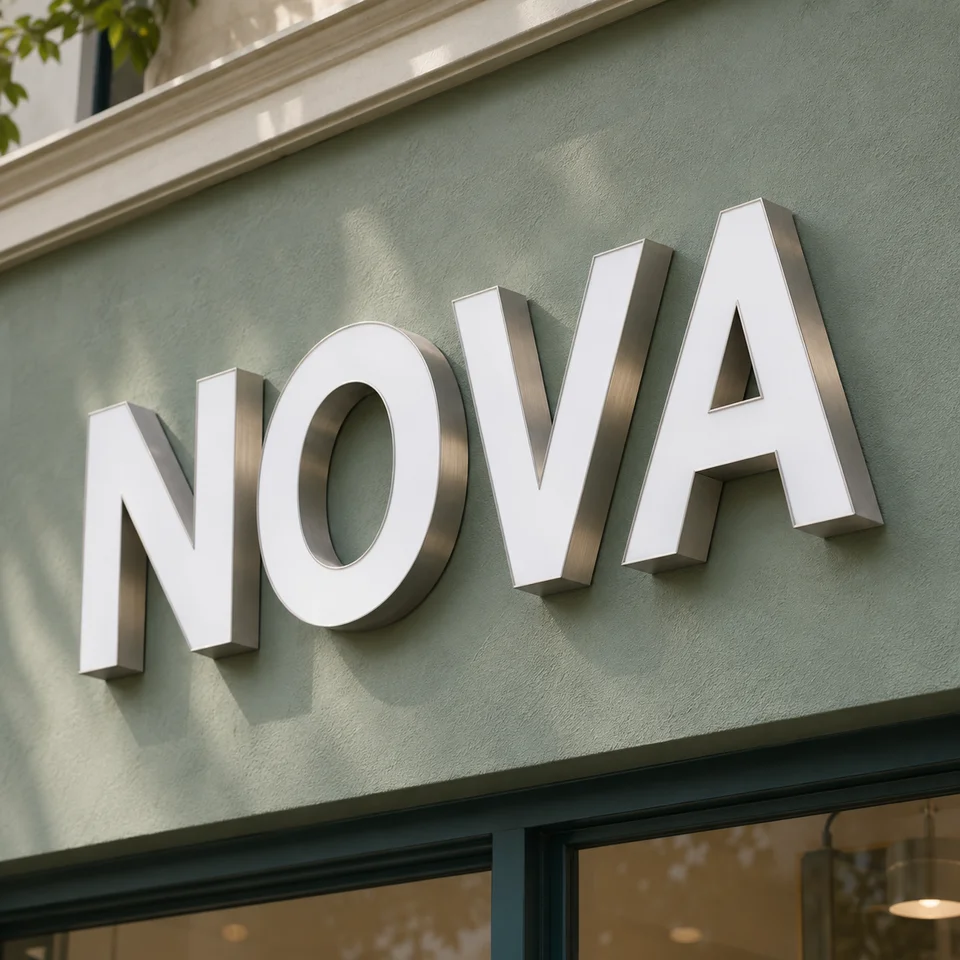
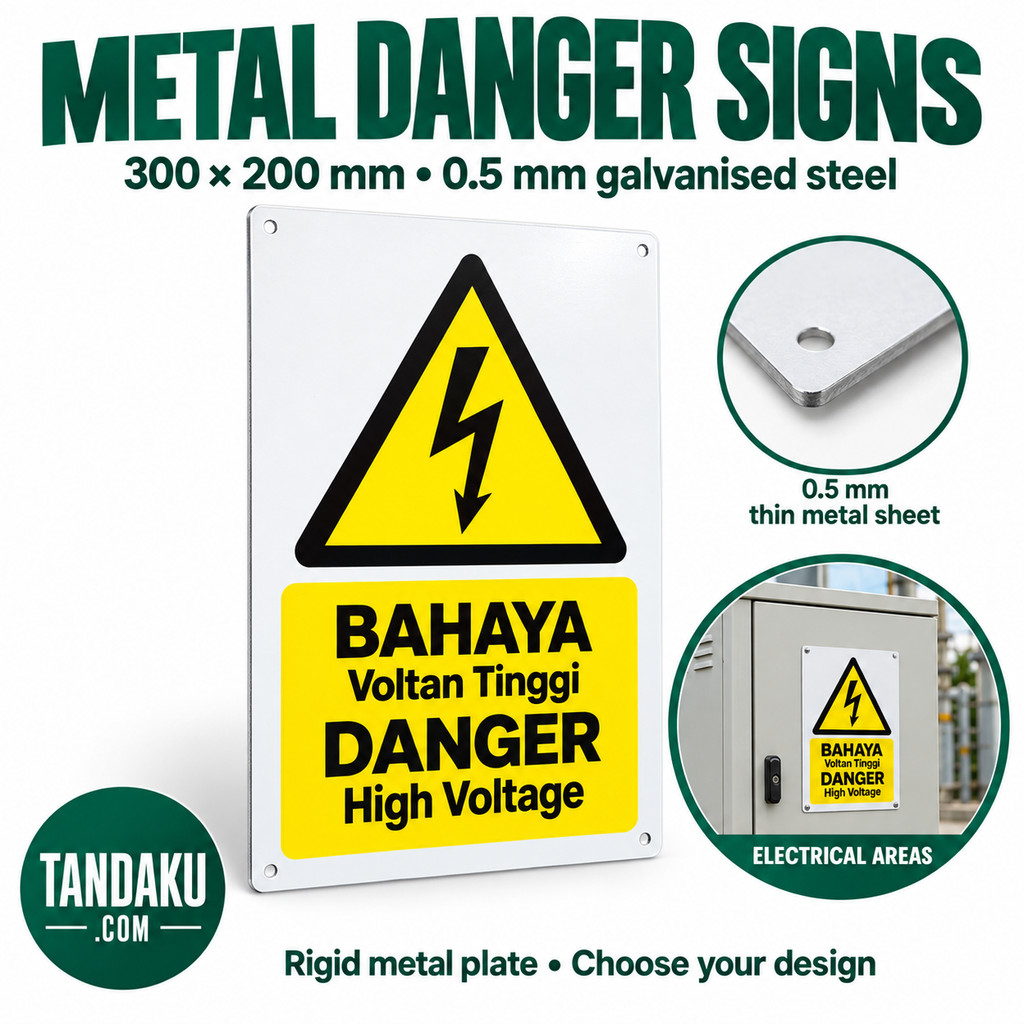
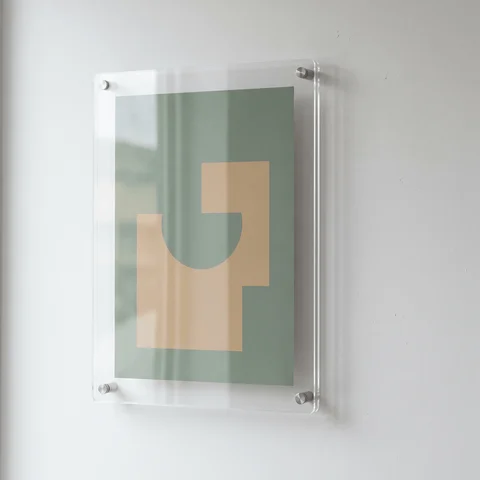
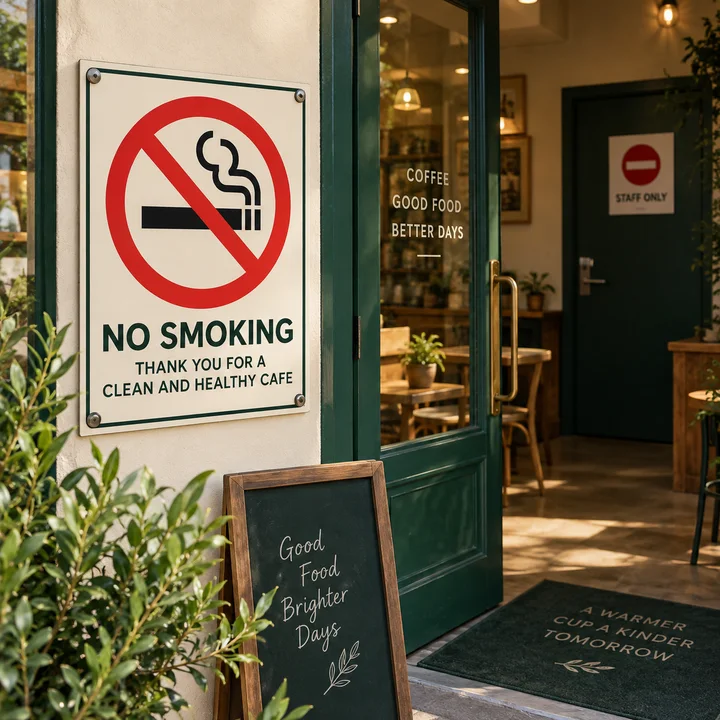
The images below are illustrative Tandaku catalog references, not photographs of completed customer jobs. Their artwork, structures and accessories are examples; your order includes only the options you select.
1. Give a market banner one clear job
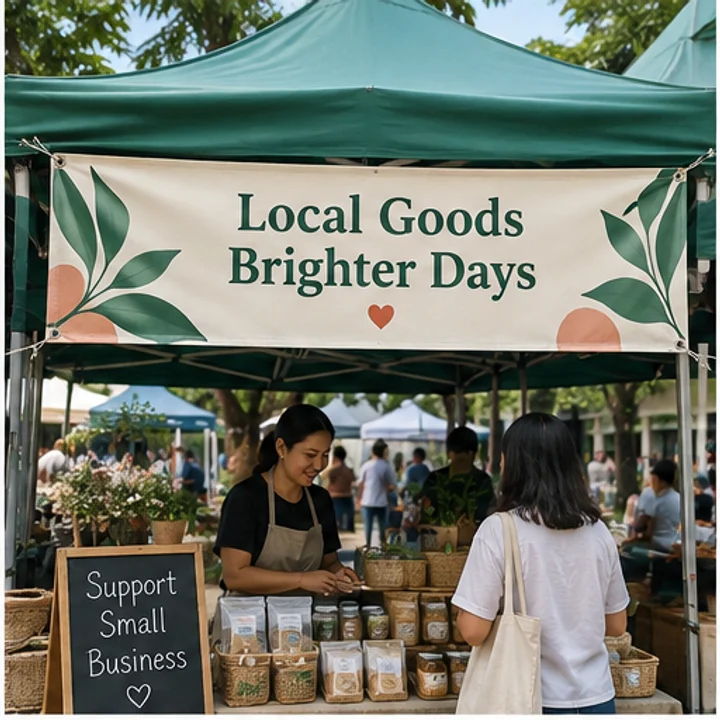
A stall banner usually needs to answer “What do you sell?” before it lists social accounts. Write that answer in one short line. Put the brand next, followed by one useful action such as a stall number or collection point. Move a detailed menu to a separate board that people can read while standing still.
Measure the usable space between the actual fixing points. A canopy advertised as a certain width does not necessarily have that much clear space for your graphic. Record the finished banner width and height, the fixing positions and any area hidden by the canopy fabric. Send a placement photo if the space is awkward.
2. Make a shop promotion readable at a glance
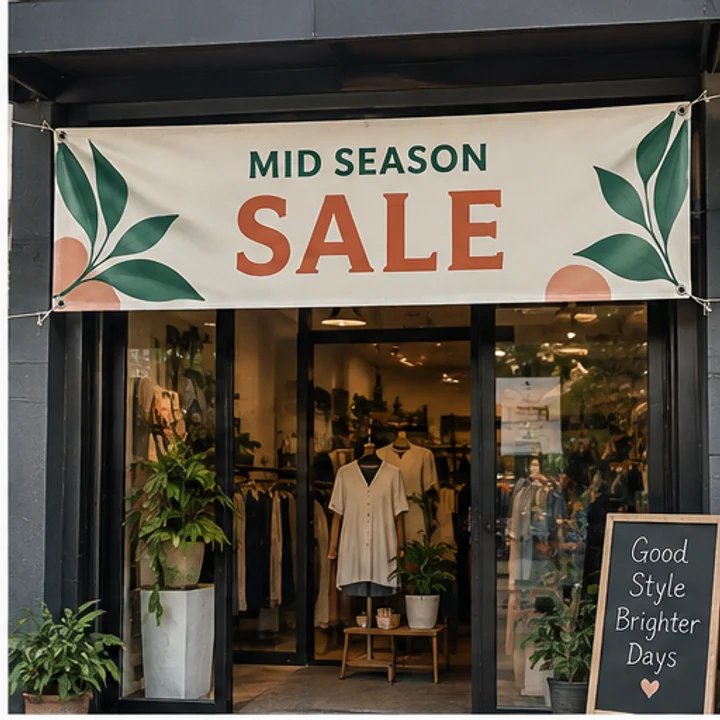
Start with the offer, then add its dates and any essential qualification. “Selected items” should remain readable if it changes what the offer means. Avoid squeezing every product into the same design: a banner is usually read with less attention than a brochure.
Try a paper mock-up or a scaled print from the intended viewing position. Check it in the lighting customers will see, rather than only zooming in on a bright screen. If the main line takes effort to read, remove competing elements or increase its size. There is no single font size that works for every frontage, distance and typeface.
3. Separate an event welcome from directions

For an event, the welcome message and the route to registration are different jobs. If people must decide where to turn before reaching the entrance, place a directional sign at that decision point. Adding a tiny arrow to a distant welcome banner will not solve the problem.
Confirm the frame opening with the venue or installer before choosing dimensions. Ask who supplies and installs the frame, how the banner attaches and when installation is allowed. Our print dimensions do not specify a structural frame. For a self-contained indoor display, compare a roll-up banner instead.
4. Check exposure before choosing a fence display
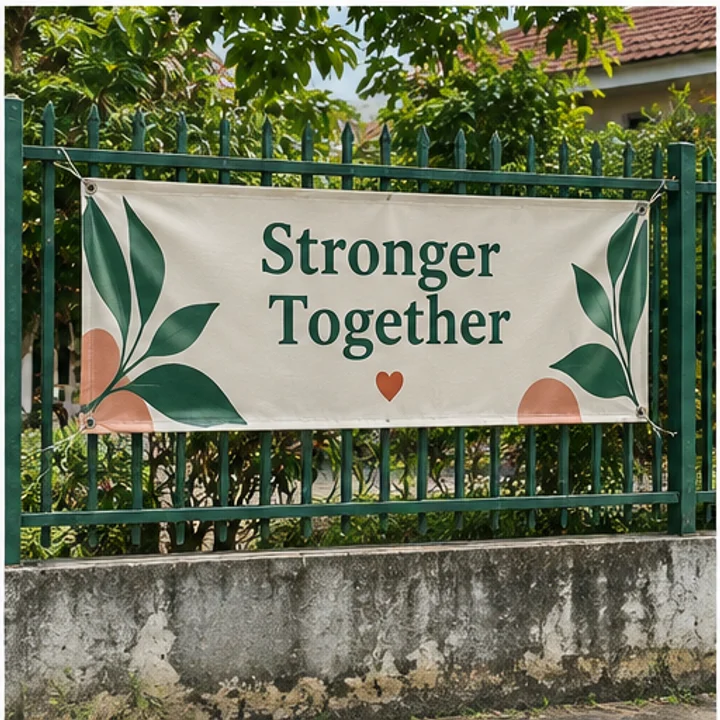
Describe the site as indoor, sheltered or exposed, and say whether air can move freely behind the print. Do not assume heavier flex resolves every outdoor problem. The material, overall area, fixing pattern and supporting structure all matter.
For an exposed location, discuss the installation with the person responsible for the structure and compare mesh banner options. Mesh can be worth considering where airflow matters, but it does not remove the need for suitable fixings. Read our outdoor banner guide for the material comparison. Avoid promises of a fixed outdoor lifespan without checking the actual site.
5. Make a school or repeat-event banner reusable

If you plan to use the same banner again, identify which details will change. A permanent event name with separate date signage may be more practical than printing a new large banner each year. Keep a copy of the approved artwork and the finished dimensions so a replacement uses the same proportions.
Plan the deadline backwards from the time you must install it. File preparation, payment, artwork approval, production, delivery and installation are separate steps. Use the production estimate displayed for your selected options; a dispatch estimate is not a promise that the parcel arrives that day.
6. Reserve space for hems, eyelets and mounting
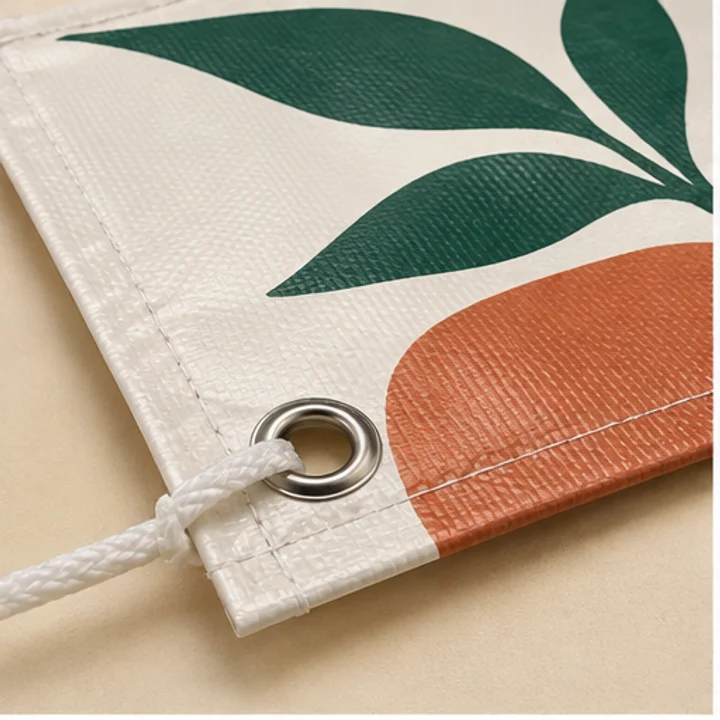
Select the finishing that matches your mounting plan before finalising artwork. Eyelets provide attachment points; a pocket is intended to accommodate a compatible pole. Neither option means that a frame, pole or installation service is automatically included. Check the current choices in the configurator and specify anything that requires confirmation.
Do not use a guessed universal bleed or safe margin. Confirm the allowance for your selected size and finishing, particularly if artwork must align with a frame or pocket. Read our banner pixels and DPI guide for resolution calculations and our artwork preparation guide before exporting.
Copy this banner order checklist
| Decision | What to record |
|---|---|
| Message | Main headline, essential details and the action to take |
| Placement | Site photo, indoor or outdoor exposure, viewing position |
| Dimensions | Finished width × height, units and orientation |
| Support | Frame opening, fixing positions and responsible installer |
| Finishing | Selected edge and attachment options, clear artwork margins |
| Artwork | Final PDF, fonts and images checked, correct proportions |
| Timing | Approval deadline, production estimate, delivery and setup buffer |
For example, “one landscape banner, 1830 × 610mm, supported above a covered stall, headline visible from the aisle” is a more useful brief than “one big banner.” The dimensions are an example, not a required standard. Use our standard size guide if you need help converting feet to millimetres.
FAQ
Should I choose the banner size or design first?
Measure the space and agree the finished dimensions first. Then design at that aspect ratio so the artwork will not need to be stretched or cropped to fit.
Are eyelets and a hanging frame the same thing?
No. Eyelets are attachment points in the banner. A frame, its anchors and installation are separate parts of the display, so confirm each item in your order and installation plan.
Can I use the same layout for a banner and a signboard?
You can reuse the branding, but adapt the layout to the finished shape and mounting. For a rigid display, use our signboard order brief and compare printed signboards.
Order your banner
Enter your actual dimensions in our banner printing calculator, choose the available material and finishing, and review the total before ordering. The live configurator is the source for current prices and options.