



Set up your artwork for print
Download a template at your exact size, check eight things, and upload. No designer? We design it for free.
In short
Download the template on the product page. Keep text 5 mm inside the cut. Photos at 150 dpi or more. No designer? Choose “Design for me”: it’s free.
Ringkasan
Muat turun templat di halaman produk. Letak tulisan 5 mm ke dalam dari garisan potong. Gambar sekurang-kurangnya 150 dpi. Tiada designer? Pilih “Design for me”: percuma.
简要
在产品页面下载模板。文字离裁切线至少 5 毫米。图片至少 150 dpi。没有设计师?选择 “Design for me”,免费设计。
Three ways to give us your artwork
Upload your file
Upload on the product page. We check it automatically, and a designer reviews it before anything prints.
Send it later
Order now and send the file after checkout, by WhatsApp or email. Nothing prints until we have it.
Design for me Free
Send your logo, wording and a reference picture. You get a draft and 2 rounds of changes. Production starts when you approve it.
Start from a template
On any product page, set your size and finishing, then tap Download template (.svg). You get a 1:1 file at that exact size, in millimetres. It has two layers: Artwork for your design and Guides, which shows the bleed, the cut line, the safe area and, for your finishing, the holes, eyelets, pockets or cut-line instructions. Hide the Guides layer before you export.
Popular sizes
- Banner 6 × 3 ft ↓ 1829 × 914 mm, 4 corner eyelets
- Bunting 2 × 5 ft ↓ 610 × 1524 mm, top and bottom pockets
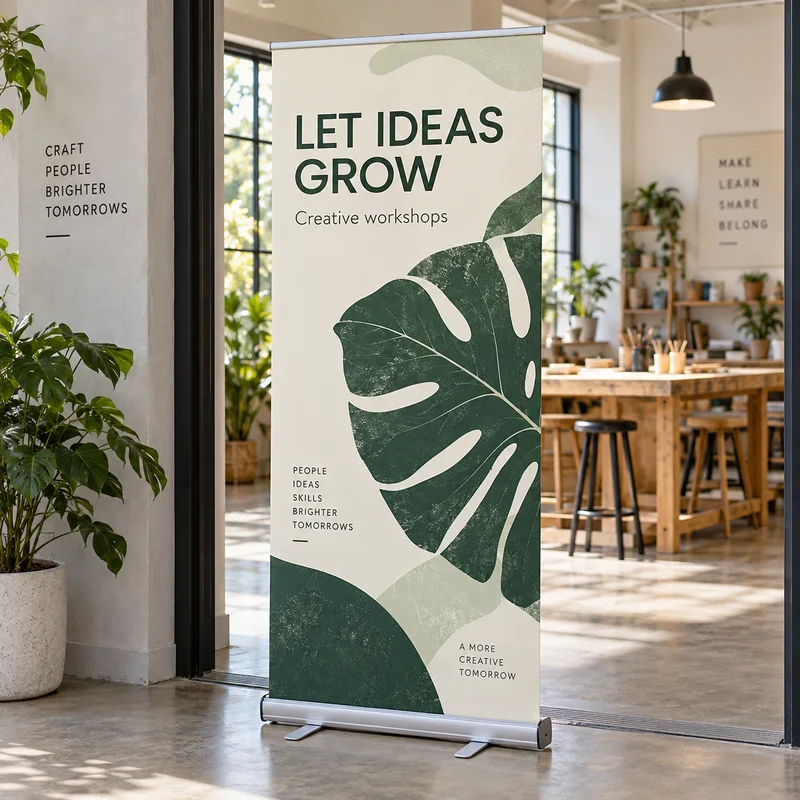
- Roll-up banner ↓ 850 × 2000 mm
- Backdrop 8 × 8 ft ↓ 2438 × 2438 mm, 3 in pockets top and bottom
- Acrylic sign A3 ↓ 420 × 297 mm, 4 standoffs
- Signboard 4 × 2 ft ↓ 1219 × 610 mm, 4 screw holes
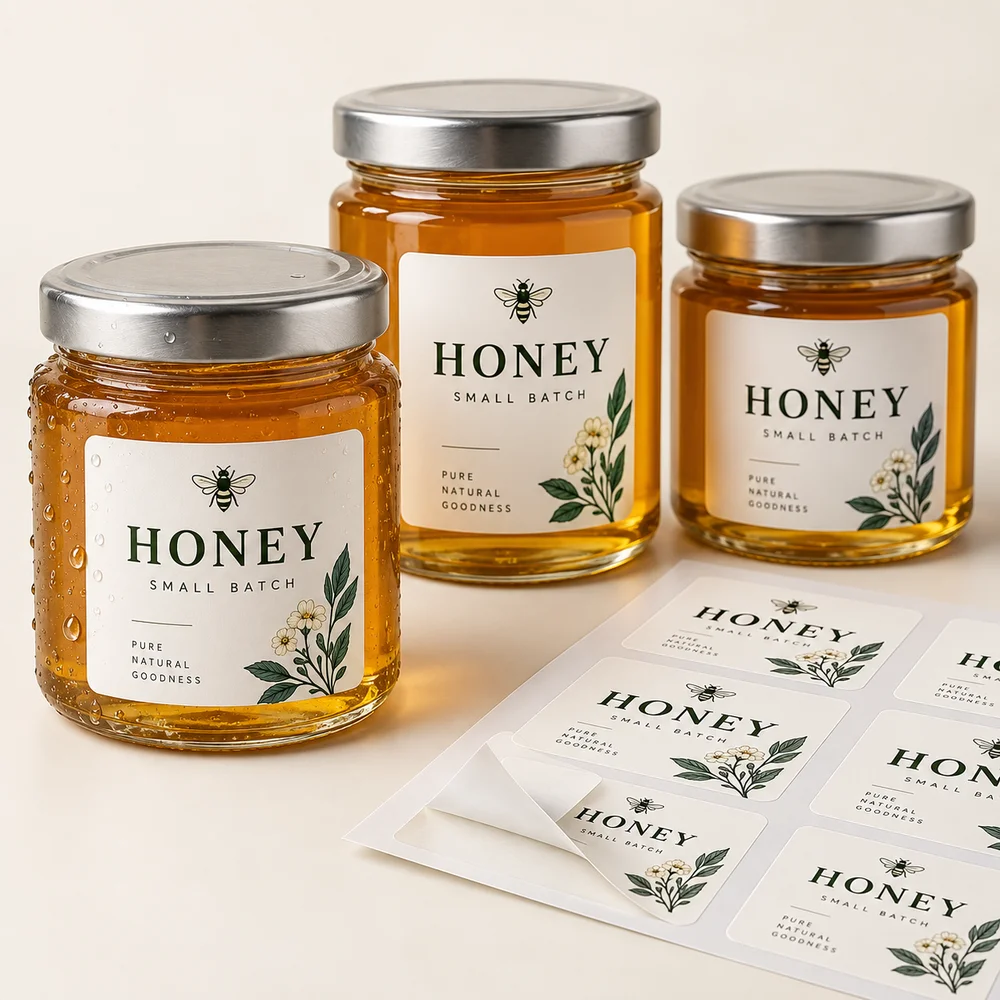
- Sticker 50 × 50 mm ↓ die cut to your shape
Check these before you upload
- 1 Finished size, in millimetres, at 1:1 Set your page to the size you ordered. Add 3 mm of bleed on every side: a 600 × 400 mm sign is a 606 × 406 mm page. Our template already does this.
- 2 Background to the edge Run background colours and photos 3 mm past the cut line, so no thin white edge shows after cutting.
- 3 Text away from the edge Keep text, logos and faces at least 5 mm inside the cut line, and clear of holes, eyelets, folds and pockets.
- 4 Sharp enough Vector files (AI, PDF, SVG) print sharpest at any size. For photos, aim for 150 dpi at full size for boards and banners seen from a metre or more, and 300 dpi for stickers, posters and anything read up close. A logo saved from WhatsApp or a website is usually too small: send the original.
- 5 CMYK colour We print in CMYK ink. Very bright screen colours (neon green, electric blue) print a little duller. Use our free CMYK chart and converter, or tick colour-critical when one colour must match.
- 6 Fonts outlined Convert text to outlines (curves) or embed the fonts in your PDF, especially Chinese and Tamil characters, so nothing changes when we open the file.
- 7 Lines and small text Make fine lines at least 0.5 mm thick. On a sign, allow about 25 mm of letter height for every 3 m of viewing distance.
- 8 Guides off, file saved Hide or delete the template’s Guides layer. Save a PDF (best), AI or SVG, or a JPG/PNG. Files up to 30 MB upload directly; for bigger files or TIFF, paste a Google Drive, Dropbox or WeTransfer link at the upload step.
Colour help: free CMYK colour chart (PDF) · RGB to CMYK converter
Notes by product
Banners and buntings
- Eyelets sit about 20 mm in from the edge. Keep a 30 mm circle round each one clear of text.
- Sewn pole pockets on banners and buntings fold about 3 in of your print to the back. Keep text out of that strip.
- Backdrop pockets and white borders are extra material we add outside your artwork. Design only the size you ordered.
Signboards, acrylic and boards
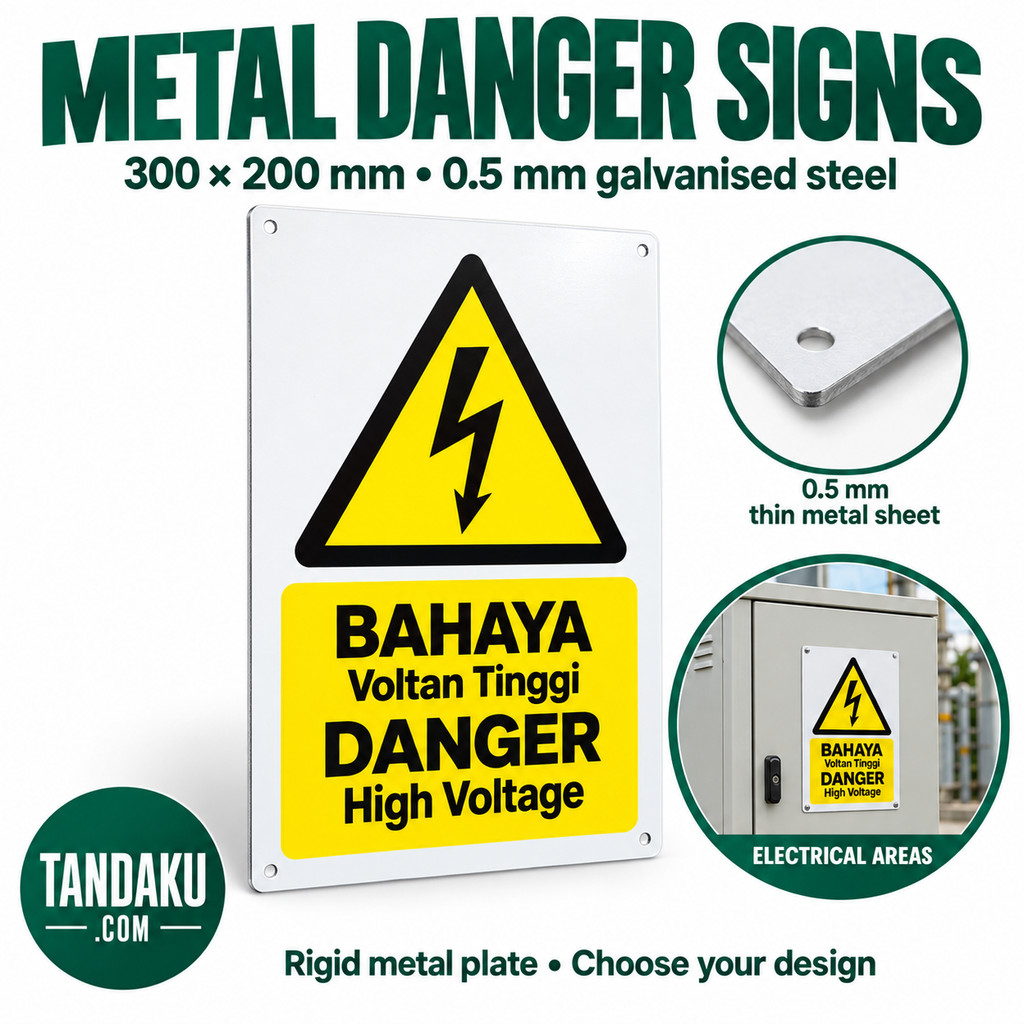
- Screw and standoff holes are 6 mm, near each corner. The template marks the standard positions; if you need them elsewhere, write it in the order notes.
- Standoff caps cover a circle about 25 mm across round each hole.
- Rounded corners are cut to about 5% of the short side (3–25 mm). A bevel edge is cut at 45°, so keep everything inside the safe area.
Stickers and die-cut shapes
- Draw your cut line as one closed path on its own layer named CutContour: stroke only, 100% magenta, no fill.
- Run the background 3 mm past the cut line. Kiss cut goes through the sticker only and leaves the backing sheet whole.
Canvas on a wood frame
- Design the front only. We print 101.6 mm (4 in) past every edge by mirroring your picture, so it wraps round the frame. Keep faces and text 10 mm inside the edge.
Roll-ups, X-stands and fabric displays
- The stand hides part of the edge: about 100 mm at the bottom of a roll-up sits inside the base. The template shows where.
- Fabric wraps round the frame edges, so keep text at least 50 mm inside every edge.
Engraving, stencils, letters and neon
- Engraving is one colour: send black artwork on white as a vector PDF or SVG.
- Stencils need bridges: the centres of letters like A, B, O and R must connect to the outer sheet.
- Cut-out letters and neon signs are made from your wording or logo, so they need no template.
Set it up in your software
Canva
- Create a design with Custom size in millimetres, using the finished size.
- Turn on File › Settings › Show print bleed.
- Upload our SVG template and place it as a guide if you like, then delete it before downloading.
- Share › Download › PDF Print, with “Crop marks and bleed” ticked.
Adobe Illustrator
- File › Open the SVG template. The artboard is already the right size, with bleed.
- Design on the Artwork layer. Hide the Guides layer.
- Type › Create Outlines, then save as PDF (High Quality Print).
Photoshop
- Open the SVG at 150 ppi (300 ppi for stickers and small prints).
- Design on new layers above it, then hide the guide layer.
- Save as PDF or high-quality JPG.
Inkscape or Affinity
- Open the SVG template. Artwork and Guides are separate layers.
- Hide Guides before you export a PDF.
No designer? We’ll design it for free.
Choose “Design for me” at the artwork step and send your logo, wording and a reference picture. You get a draft and 2 rounds of changes, and nothing prints until you approve it.
Questions
Do you have templates for print sizes?
Yes. On any product page, set your size and finishing and tap "Download template (.svg)". You get a 1:1 file at that exact size with the 3 mm bleed, safe area and any holes, eyelets or pockets marked. It opens in Illustrator, Inkscape and Affinity; in Canva, upload it and use it as a guide.
How much bleed do you need?
3 mm on every side. A 600 × 400 mm design is a 606 × 406 mm file. Without bleed we add a safety margin, but colours that should reach the edge may show a thin white line.
Is the design service free?
Yes. Choose "Design for me" at the artwork step. Send your logo, wording and any reference picture; our designer sends a draft and 2 rounds of changes, and nothing prints until you approve it.
Which file format is best?
A PDF with fonts outlined is best. AI and SVG are also vector. JPG and PNG are fine for photos at 150 dpi or more at full size.