
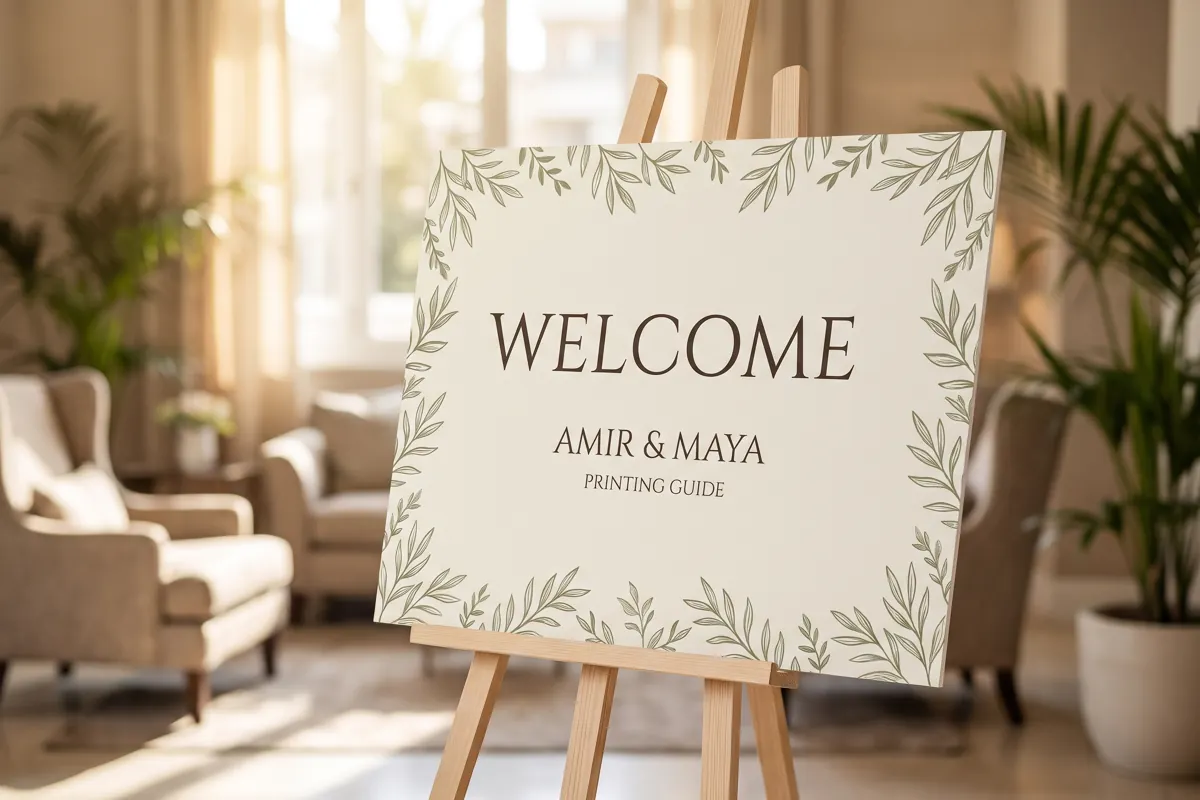
You can use a reference photo to explain the wedding welcome sign you want. For printing, send a flat artwork file at the agreed finished size. An angled photo or a screenshot may need to be recreated before it can become a clean, readable board.
Start with the names, date, finished dimensions and display position. Then decide whether you need a printed board alone or a board with an easel. Those choices affect the artwork and the order.
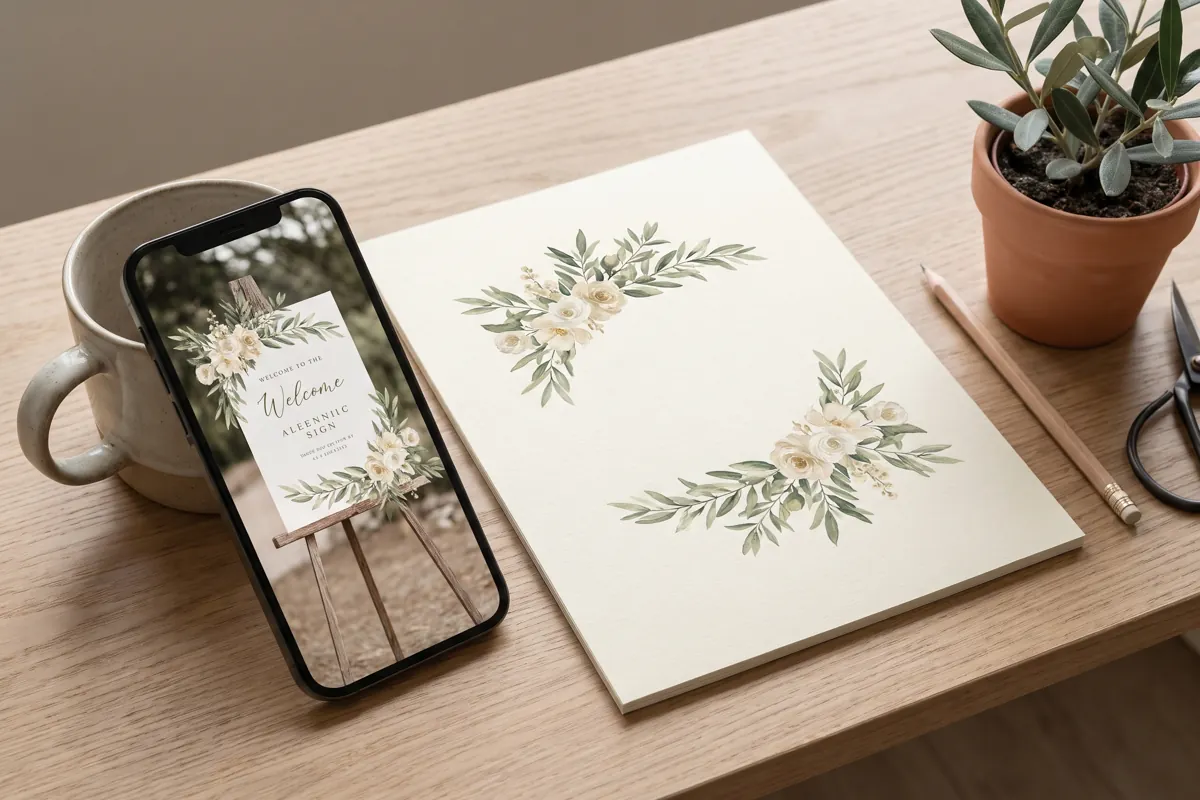
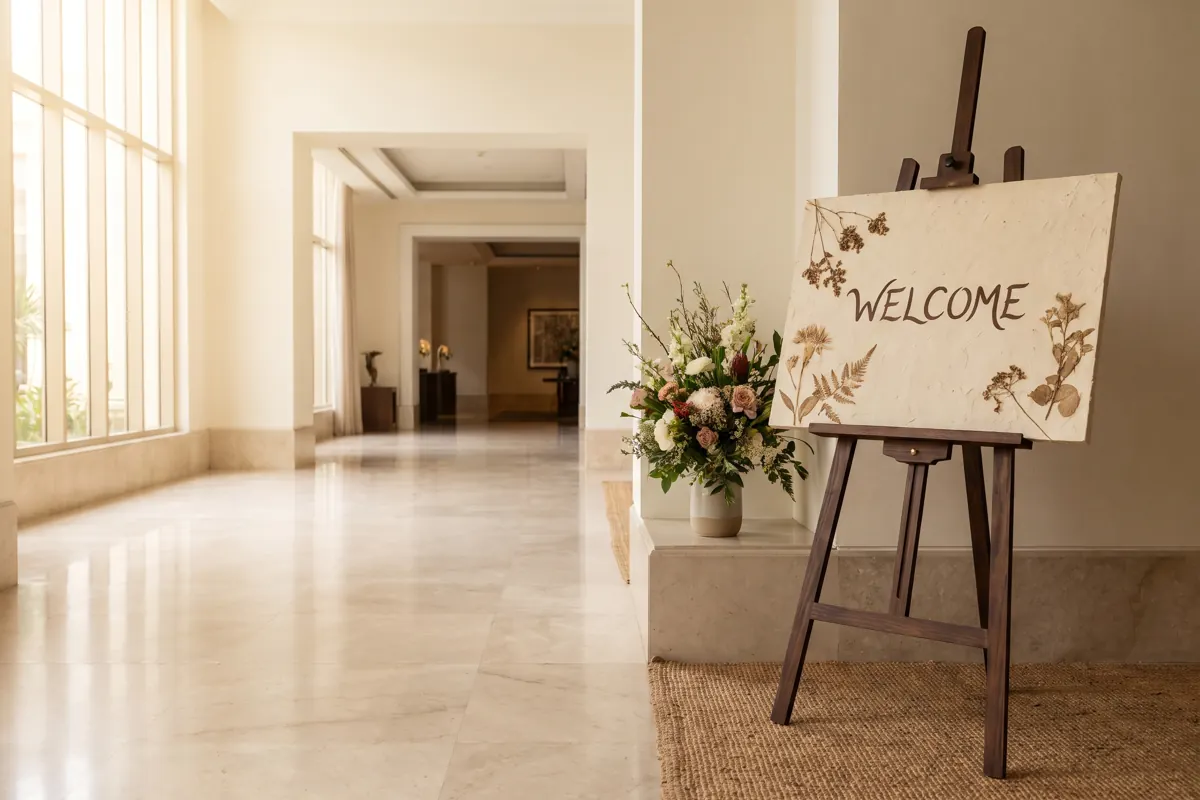
The images in this guide are AI-generated illustrations of planning situations, not photographs of completed customer orders.
Can a screenshot be printed as a wedding welcome sign?
A screenshot can be checked, but its suitability depends on its actual pixel dimensions and what it contains. A small phone preview may already include compression, a cropped border or text that becomes soft when enlarged. Saving that screenshot as a PDF does not restore missing detail.
A photo of a finished sign adds another problem: perspective. A rectangle photographed from one side becomes a trapezoid, and lighting can change the apparent background colour. Printing the photo as supplied also prints the shadows, reflections and surrounding scene.
If you have the original Canva design, PDF or editable artwork, send that instead. If you only have a reference, explain which parts you want to keep: the general layout, colour palette, lettering style or floral treatment. Use artwork and decorative assets you have permission to reproduce.
Choose the finished size before arranging the names
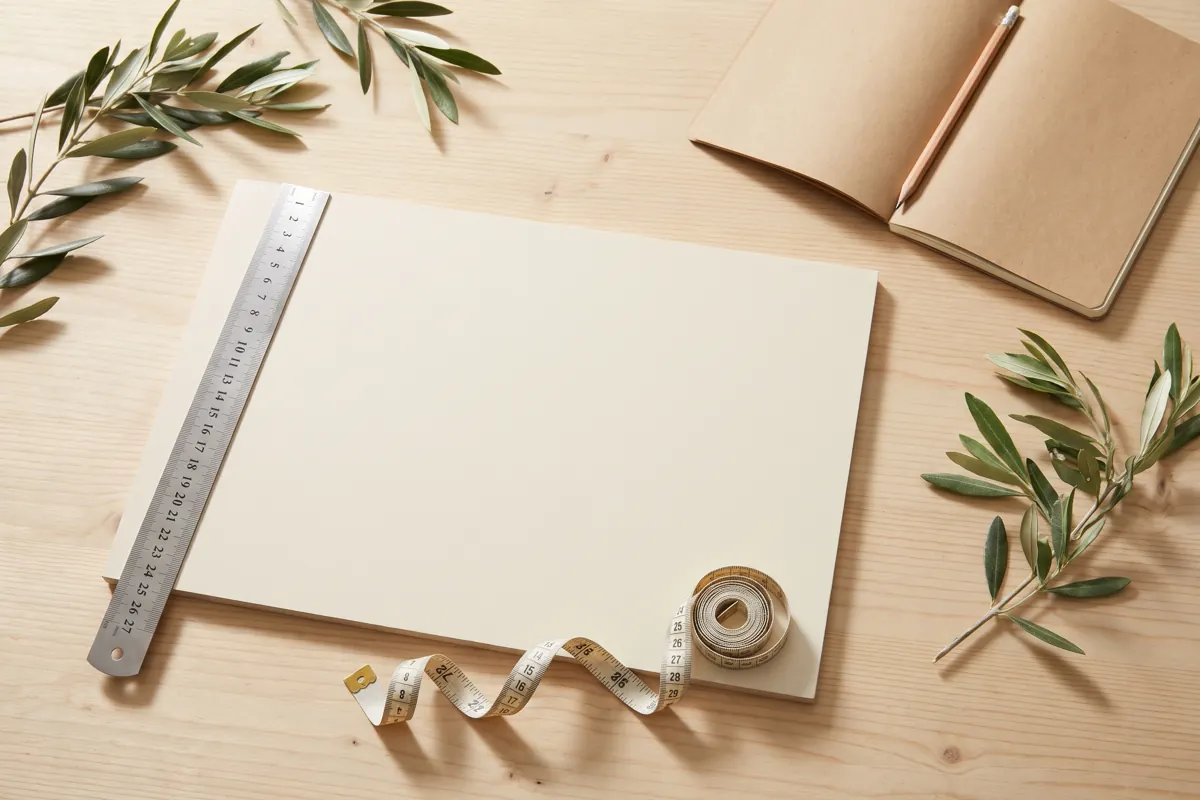
Measure the available space and check the stand with your venue or decorator. Record width × height in millimetres, and state whether the board is portrait or landscape. For example, 600 × 900 mm describes a portrait rectangle; it is a planning example, not a size every venue needs.
Moving a design from a tall rectangle to a square changes the space around the names. Cropping it afterwards can remove a floral border or force the lettering too close to an edge. An arch or another cut shape also needs its final outline agreed before the text is positioned.
Confirm these details together:
| Detail | What to send |
|---|---|
| Finished board | Width × height, orientation and quantity |
| Outline | Rectangle, arch or the exact custom shape being quoted |
| Display | Existing stand details, or a request for an easel with the board |
| Venue | Indoors or outdoors, placement and any venue restrictions |
| Schedule | Event date, required arrival or collection date, and setup time |
| Artwork | Original file if available; reference images supplied separately |
For broader file setup, see our large-format artwork preparation guide. Keep the finished size and any requested bleed clearly distinguished so the board is not accidentally ordered larger than intended.
Make the welcome message easy to read
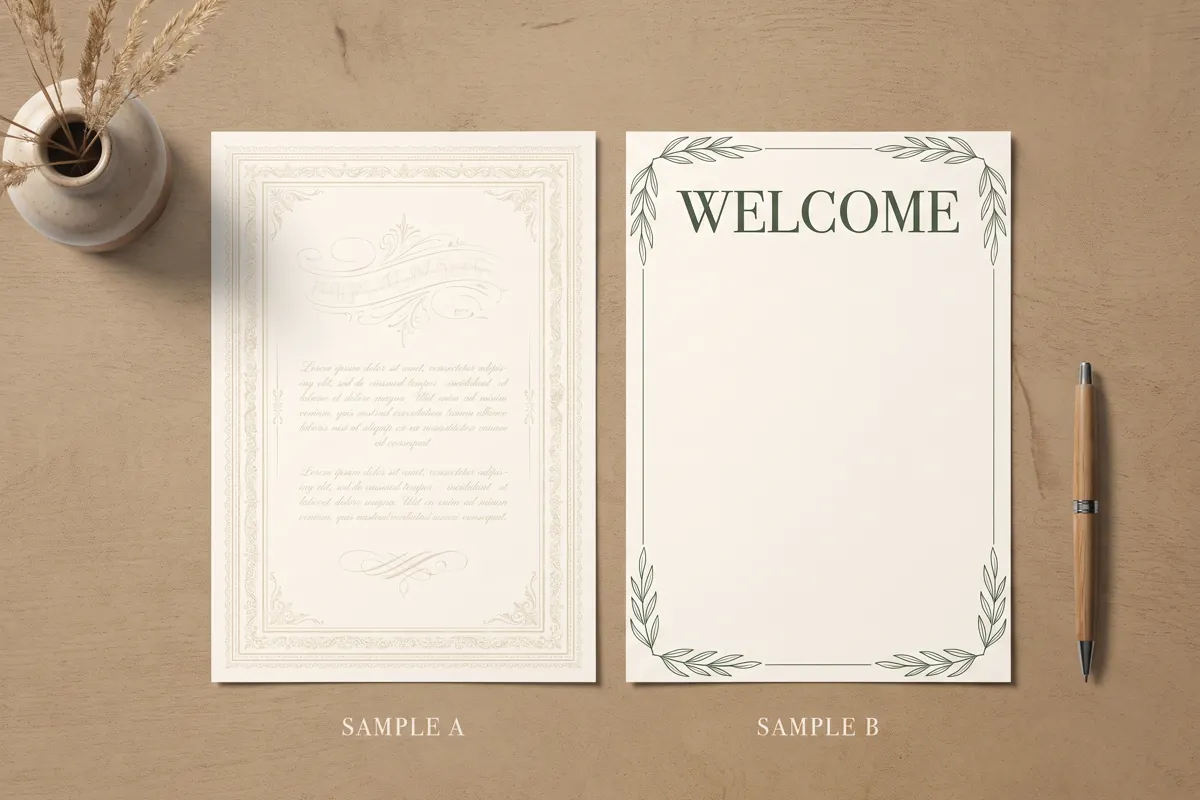
Give the main names and welcome message a clear reading order. A guest approaching the entrance should be able to identify the sign without studying every decorative detail. Delicate script can suit a short name, but long wording in thin script becomes harder to read from a distance.
Dark lettering on a pale background is a useful starting point. Leave room between lines and around the edge. If flowers, a venue arrangement or an easel ledge might cover the bottom, keep essential wording away from that area.
Print a small paper preview to check the composition, then inspect the artwork at the intended output size on screen for obvious pixelation. A small paper preview helps with spacing and spelling; it cannot prove the final material's colour or surface appearance.
Write the approved wording as text as well as supplying the design. Include punctuation, capitalisation and the exact date format. Check both partners' names, any family names and wording in every language used. A designer should not have to guess a letter from a compressed screenshot.
Choose the board and its support together
Tandaku offers printed plastic signs with board choices inside the product, and a separate acrylic sign range. Their appearance and display requirements differ. Choose from the currently offered materials and confirm the specification on the quote rather than assuming a reference photo identifies the material.
For a welcome board that needs a support, start with the display sign on an easel product. Check the selected board, dimensions, shape and easel option before ordering. If you already have a stand, tell us its usable support width and any size or weight limits provided by its supplier.
Acrylic can introduce reflections, while a transparent base allows the surroundings behind it to affect the appearance. If the reference has an opaque cream background, state that explicitly. The acrylic base comparison guide explains the differences to consider.
Outdoor placement needs a separate discussion with the venue and decorator. A board resting on an easel should not be assumed suitable for wind simply because its surface can be printed. Ask who supplies the support and who is responsible for positioning and securing it.
Export the original design and check the proof
If you designed the sign in Canva, download the original design using PDF Print where available. Canva's download file type guide describes that option. Follow the print specification supplied for your order rather than choosing export settings only because another printer uses them.
Bleed extends a background beyond a trim edge; a safe margin keeps important text inside the finished edge. They solve different problems. Ask for the required bleed and safe area for your selected board and cutting method. Canva explains these controls in its margins, bleed and crop marks guide.
When the proof arrives, compare it with your written wording and confirmed size. Check the full outline, background, letter spacing and whether anything important sits close to a cut edge. If a correction is made, approve the corrected version specifically. An earlier approval should not be treated as approval of a later file.
Screen colour is only a preview. For colour-sensitive work, discuss the requirement before ordering; the print colour variance guide explains why screen and printed colour can differ.
Plan around the arrival date, not just the wedding date
Allow time for artwork preparation, checking, corrections, production and transport. Production readiness and courier arrival are separate. Check the current product estimate and confirm the required arrival date before relying on an urgent order.
Tandaku offers collection in Seri Kembangan and courier delivery across Malaysia. If a decorator will collect the board, agree who receives the proof, who approves it and who checks the order at collection. Give the venue setup date as well as the ceremony date when they differ.
Frequently asked questions
Can you recreate a welcome sign from a photo?
Send the reference, exact wording, finished dimensions and the parts of the design you want to follow. The artwork needs to be assessed before the redraw scope, price and timing can be confirmed. A reference alone is not approval to print.
Is a Canva screenshot enough?
Send the original exported design whenever possible. A screenshot may be usable at a small output size, but it needs checking. Enlarging it or placing it inside a PDF does not add missing image detail.
Does a printed board include an easel?
Check the selected product and quote. A board-only sign and a display sign with an easel are different orders. State clearly whether you already have a stand.
Can I change the names after approving the proof?
Contact the team promptly to check the order's current stage. Do not assume an amendment is possible once production has started. Ask for a revised proof and confirmation of any price or schedule change before approving the replacement.
Order your wedding welcome sign
Choose a display sign with an easel, a printed board or an acrylic sign. Send the finished size, exact wording, event and arrival dates, display requirements and original artwork or reference. That gives the team the details needed to check the specification and prepare an accurate quote.