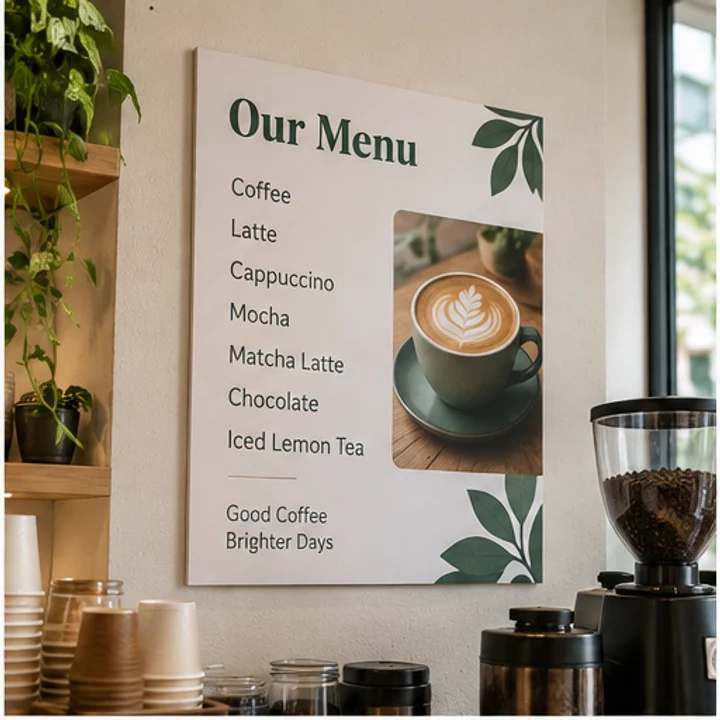
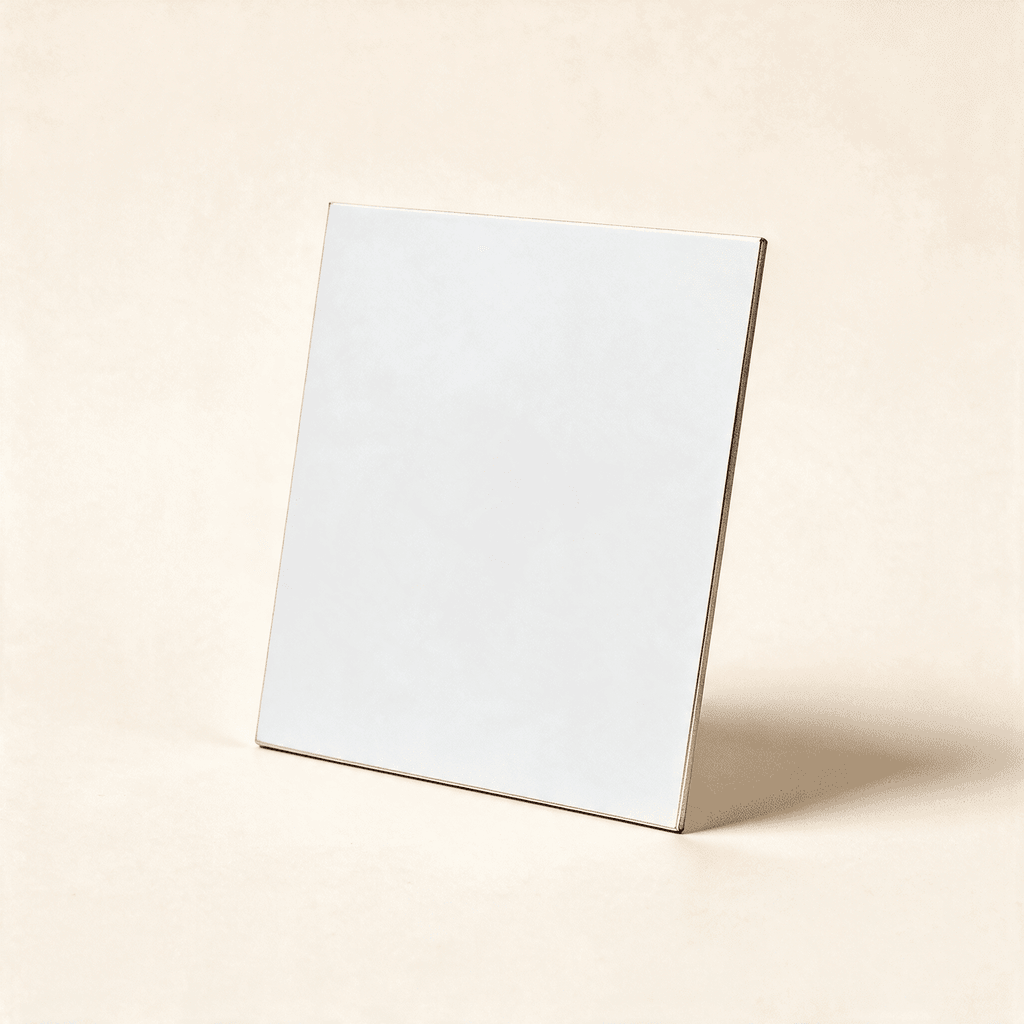
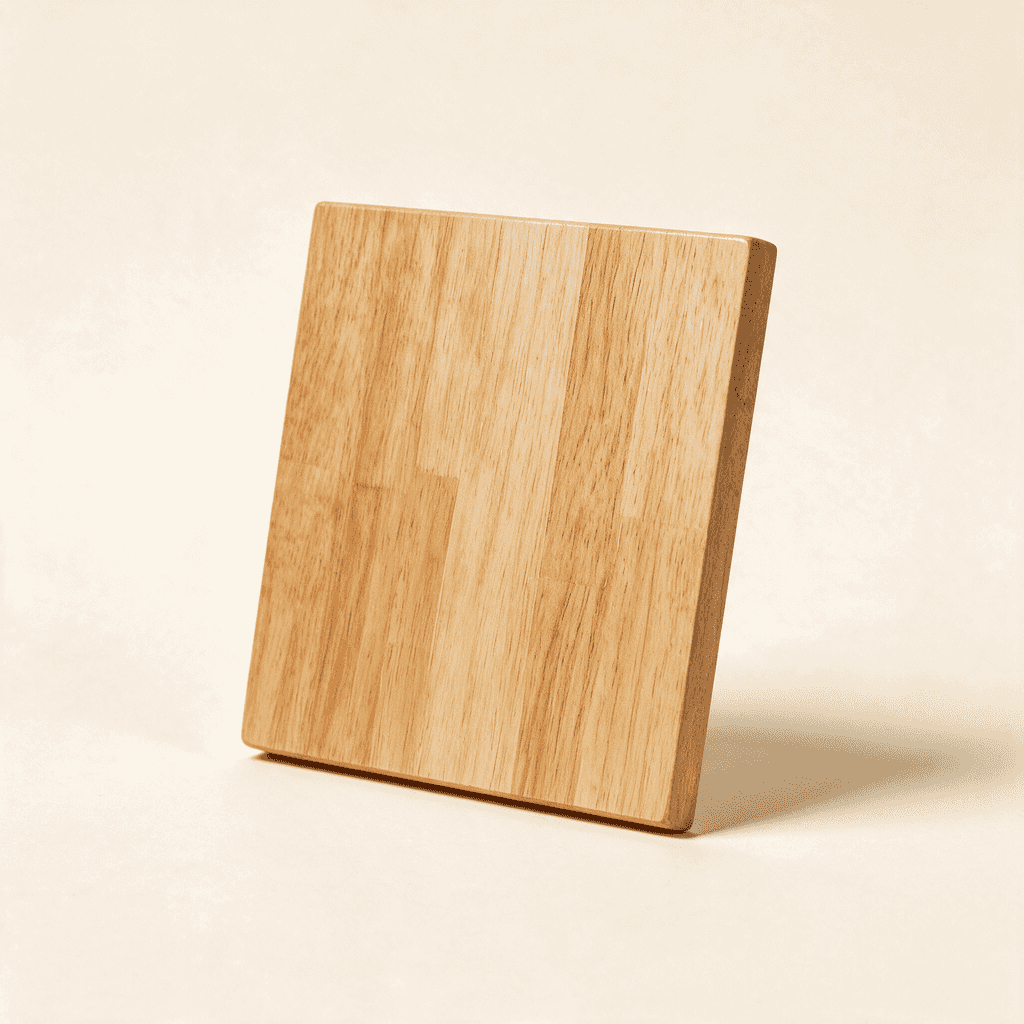




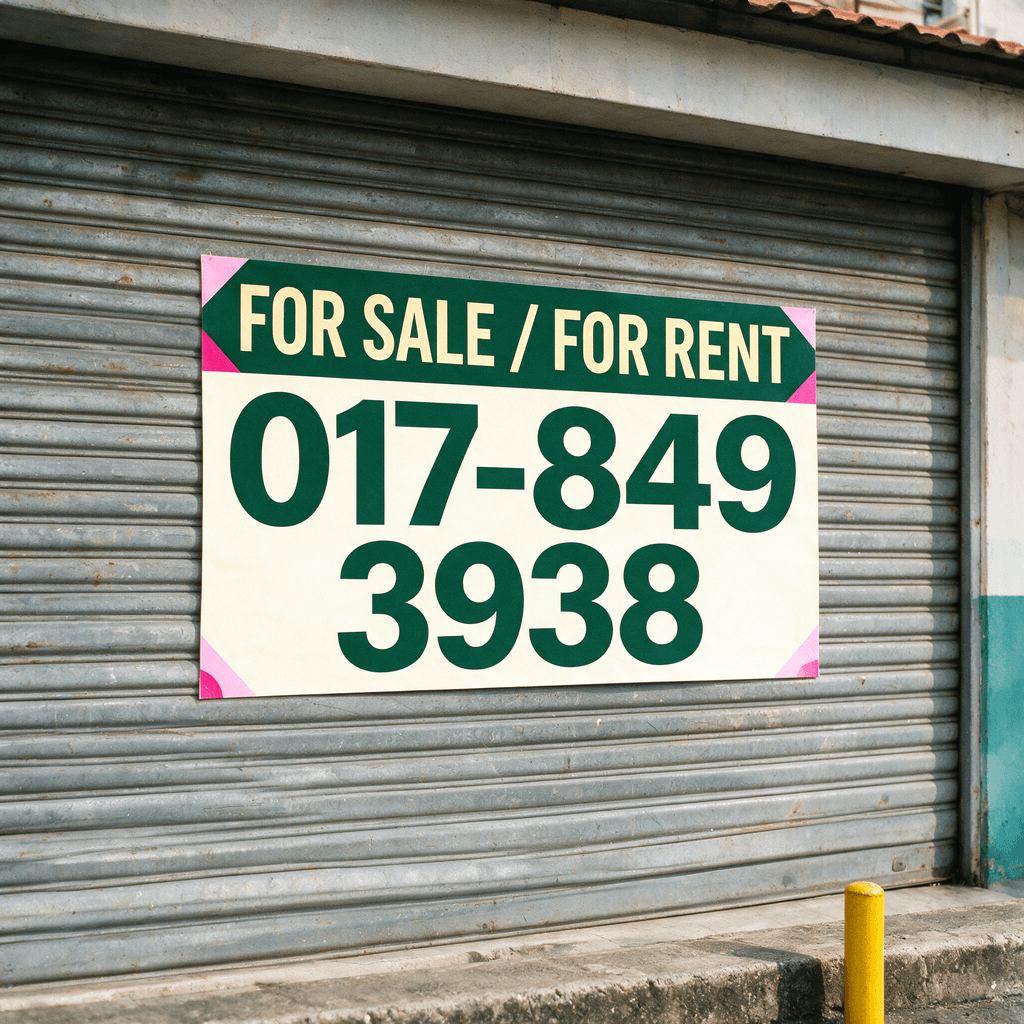
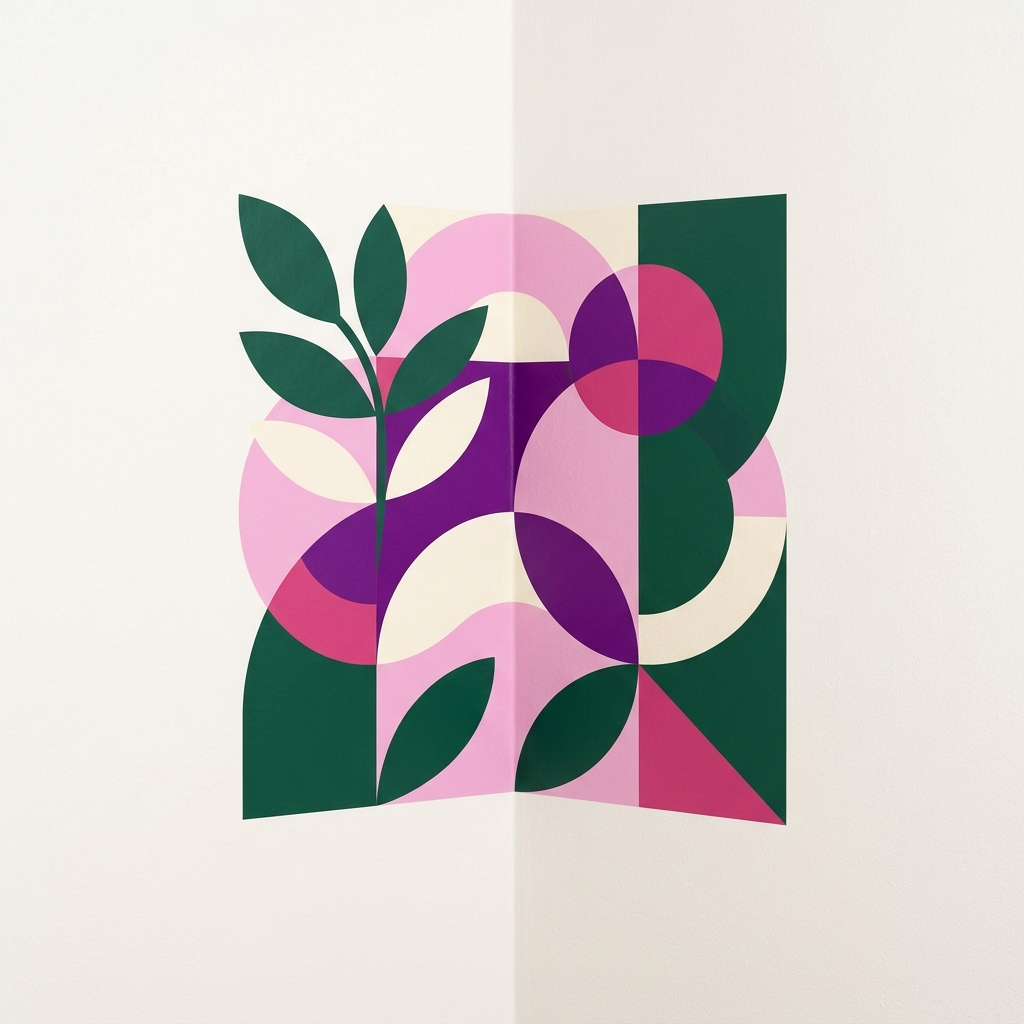
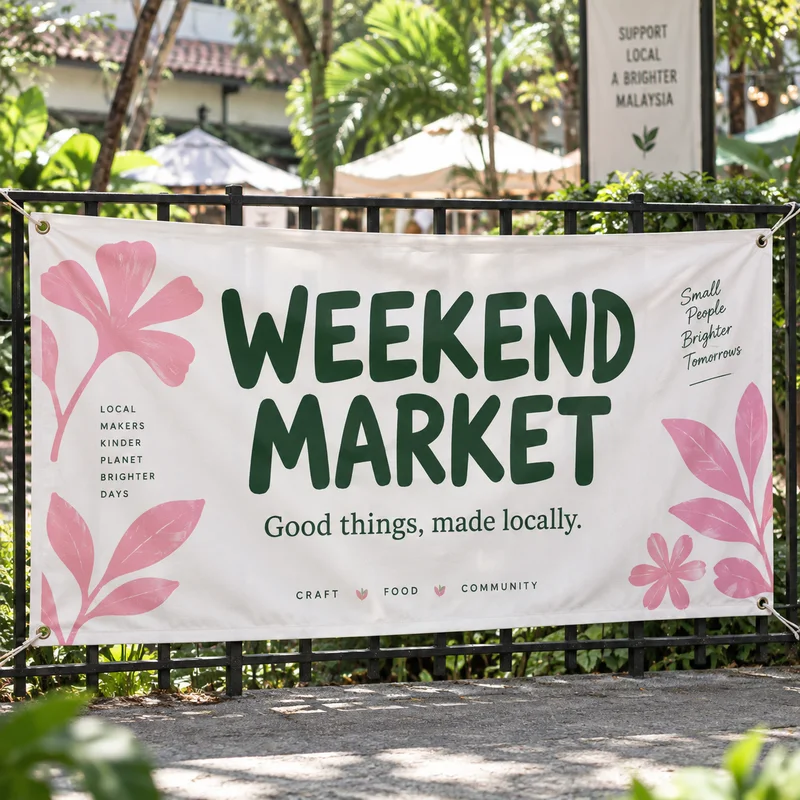







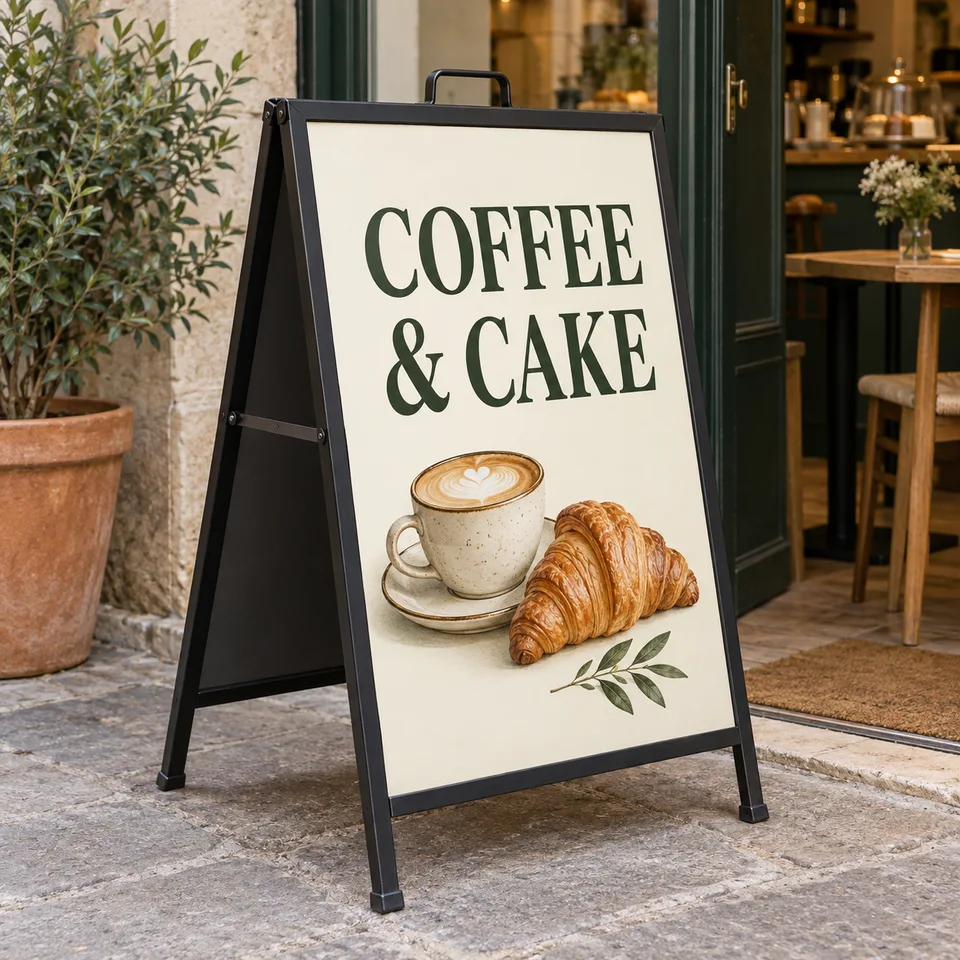

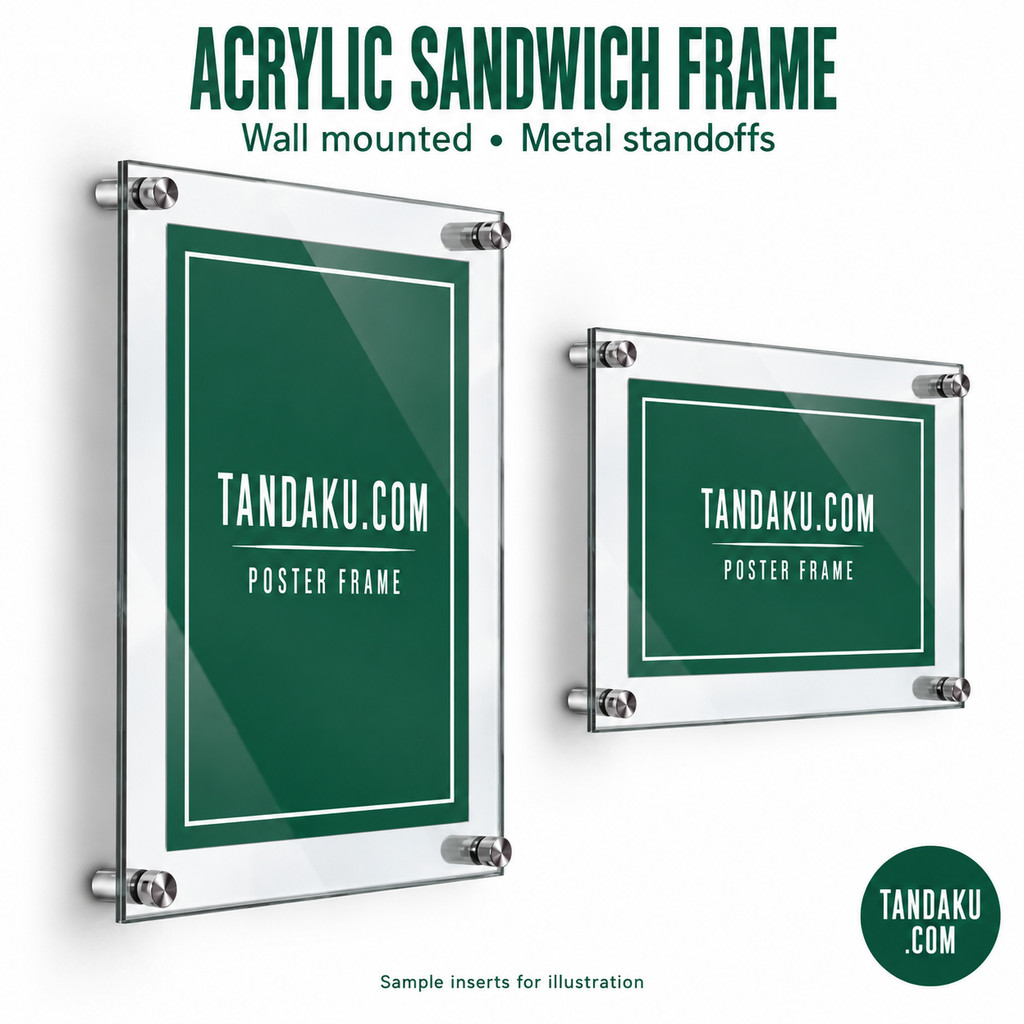

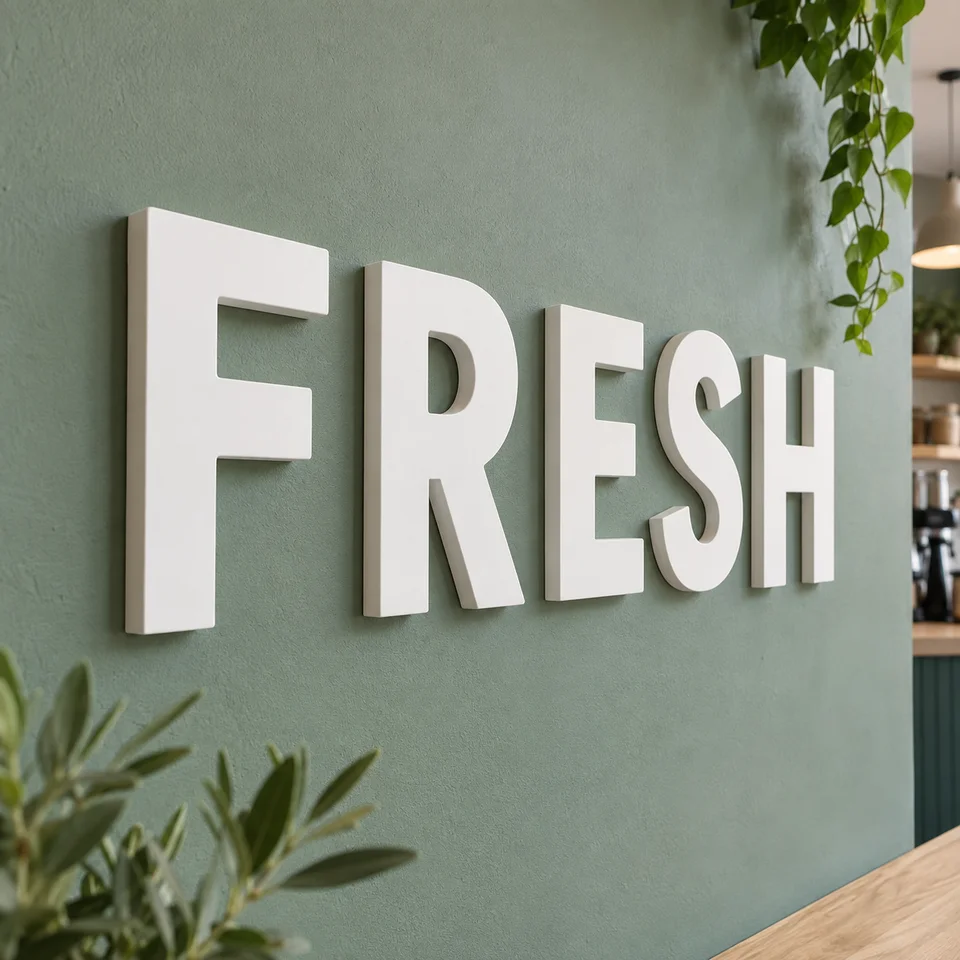

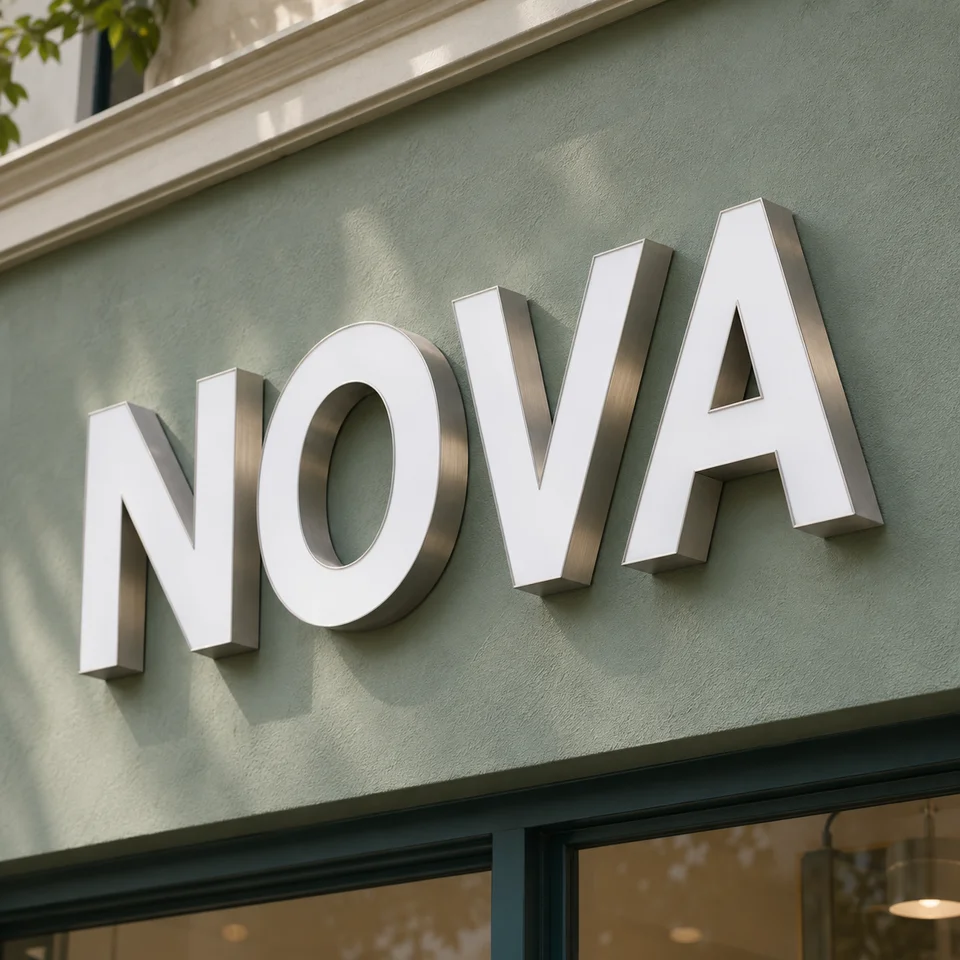
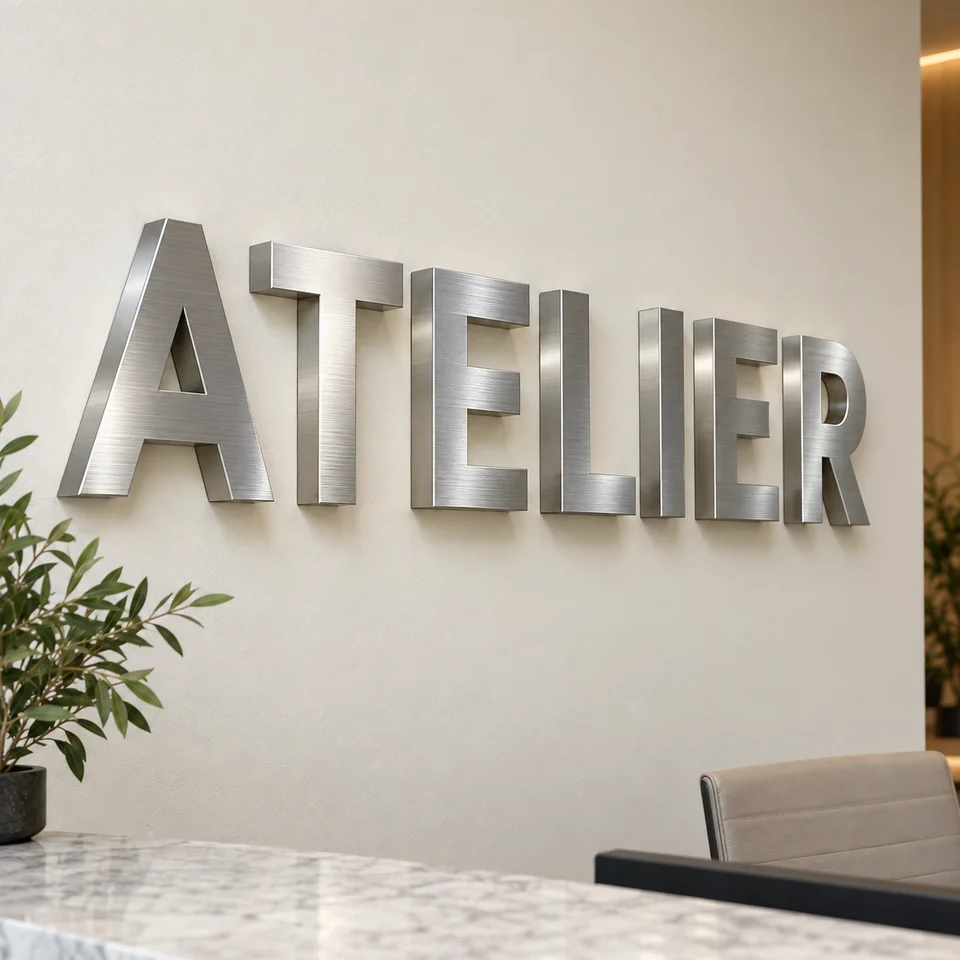
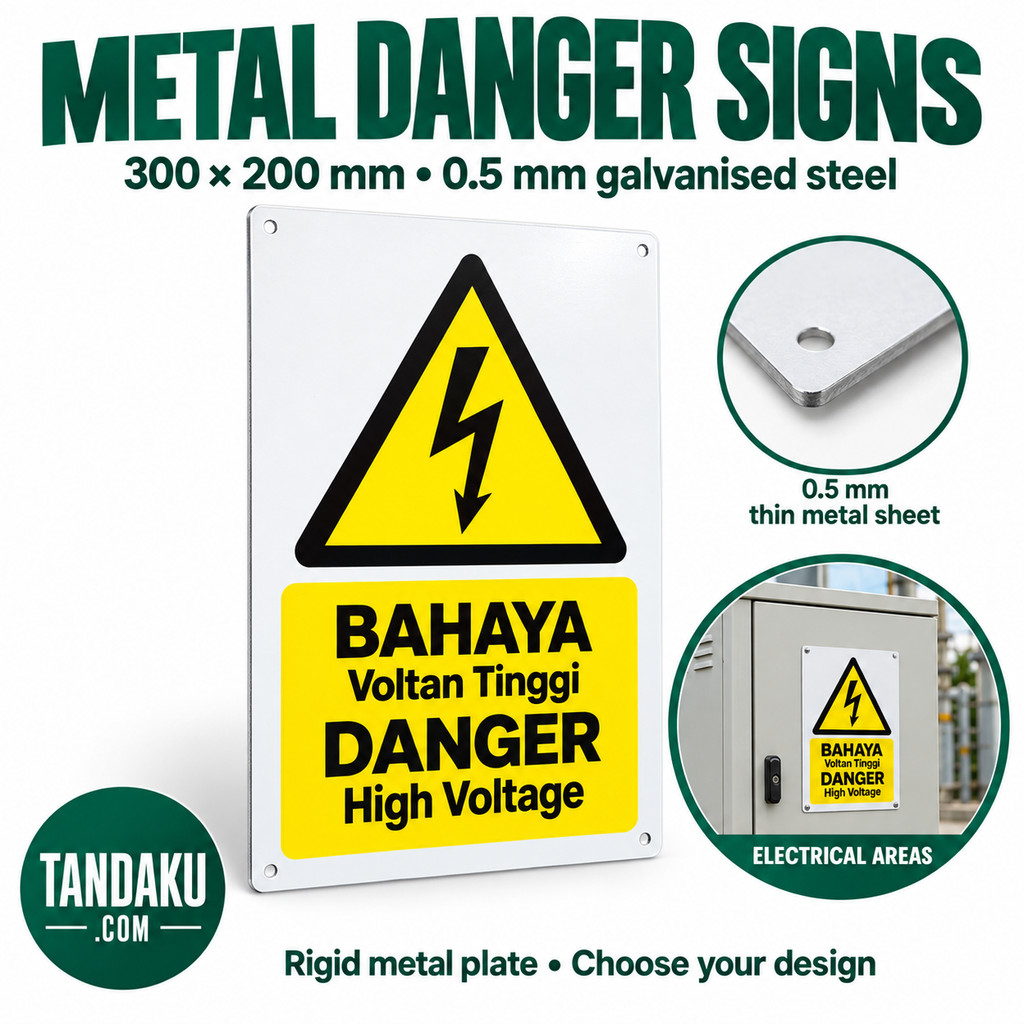
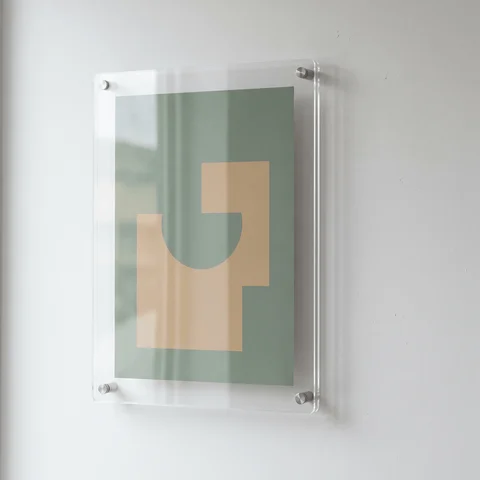

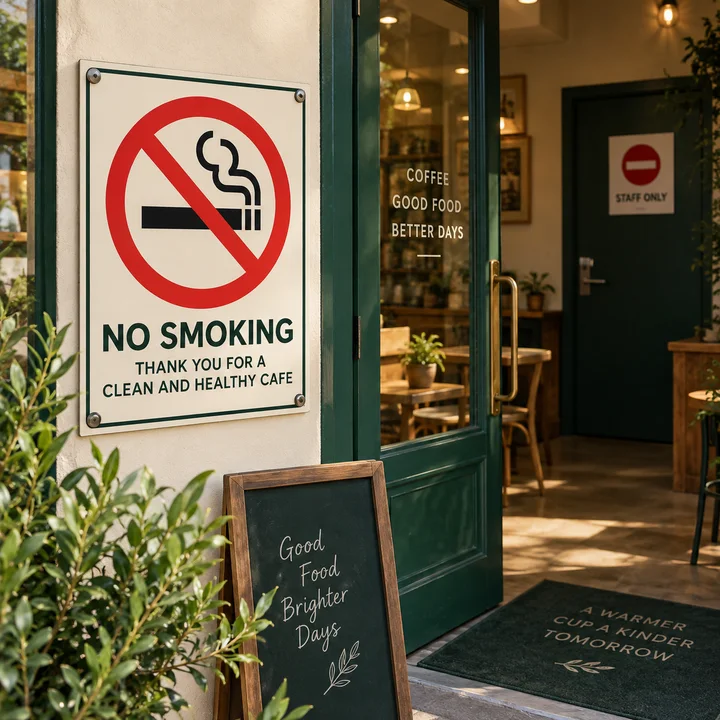
For a 3mm acrylic sign, the artwork and its surroundings need to work together. A clear panel can reveal the wall, a shiny surface can catch reflections, and mounting hardware takes up space in the layout. Before you order, use these six reference images to check the design in its intended setting.
Our 3mm acrylic signboard page shows the available ordering options and current price for your dimensions. All images below are illustrative Tandaku catalog references, not photographs of completed customer projects or exact scale drawings. The images demonstrate layouts and settings; they do not establish the thickness, hardware or accessories included in an order.
1. Reception logo: check contrast against the real wall
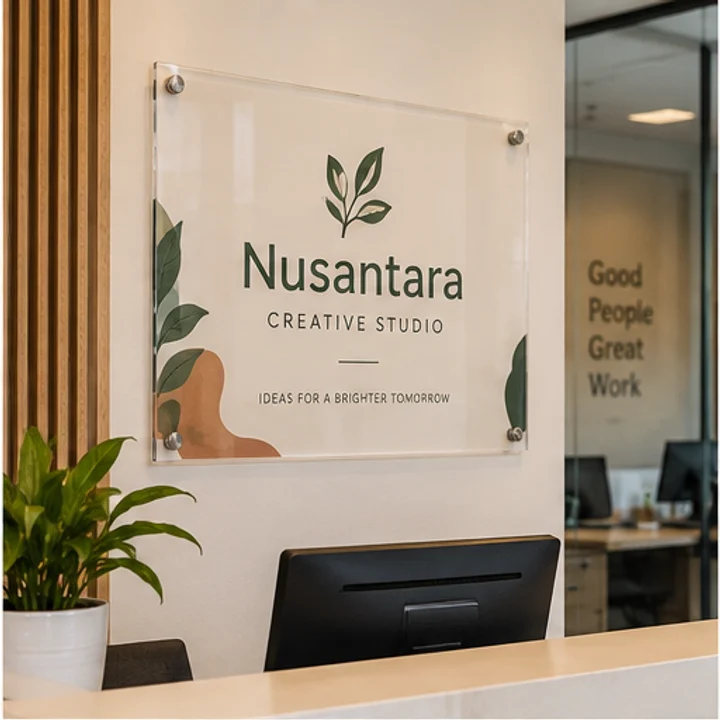
Start with the background behind the sign. A logo that looks clear on a white artboard may lose contrast on woodgrain, a dark wall or patterned tiles. Put the proposed design over a placement photo and check which parts remain readable. This is a planning preview, not a colour proof.
Say which areas should remain transparent and which should look opaque. Discuss the required print setup with us rather than assuming that a white area in a PDF automatically describes white ink or a white backing. Approve the intended result before production. If the whole panel should simply be opaque, compare other printed board materials as well.
2. Clinic or office identification: establish a reading order

Decide whether the sign identifies a business, a room or a service. Give that information the clearest position. Small decorative wording may be acceptable as decoration, but opening hours, room names and other essential information need a readable size and contrast.
Create a paper proof at the finished dimensions and place it at the planned height. View it from the doorway, not just from your desk. If it is hard to read, simplify the layout before making the panel larger. This practical test is more useful than relying on a universal font-size rule that ignores typeface, distance and lighting.
3. Counter menus: allow for reflections and updates

A glossy panel can pick up bright reflections. Before settling on its position, check where overhead lights and windows will appear from a customer's viewpoint. Moving or tilting the display may be more useful than making the lettering bolder. Confirm the support needed for a tabletop display; ordering a flat panel does not automatically include a freestanding base.
If the information changes often, compare a replaceable insert holder with direct printing. Reprinting a panel for every price change may be inconvenient. For fixed artwork, check each item and price separately, and scan any QR code from a full-size proof before approval.
4. Entrance plaques: describe shelter and support
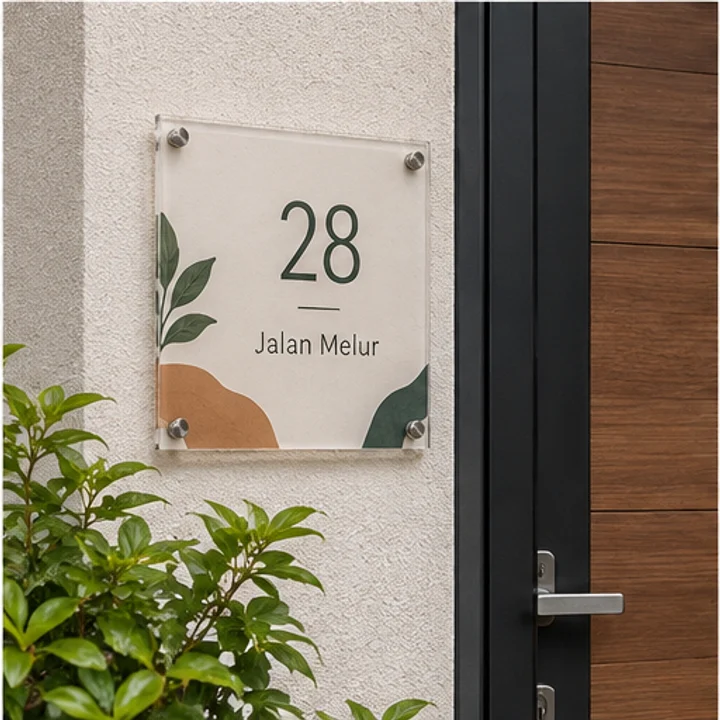
Tell us whether the plaque sits under a porch, behind glass or in direct exposure. Include a photo of the wall or gate. Acrylic can be a good appearance choice for close-up identification, but a printed sign is more than the sheet: the print, fixings, size and exposure all affect the result.
For a large exposed panel, compare ACP and other signboards and get the mounting plan checked for the site. Do not choose 3mm simply because the small example looks rigid. Thickness should be considered together with panel dimensions and the way the panel is supported.
5. Welcome signs: separate the artwork from the display
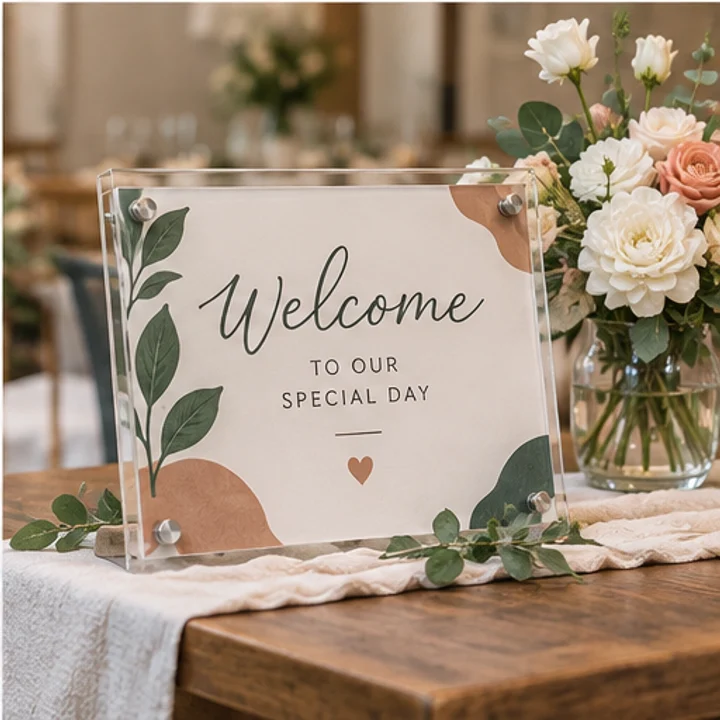
For a wedding or event, confirm both the visible design area and how the panel will be held. Ask the venue for holder dimensions if you are using an existing stand. Keep important names and dates above any lip, clamp or decoration that could cover the lower edge.
Approve spelling from the final file, including punctuation and diacritics. If the sign will become a keepsake, decide whether venue directions or temporary event details belong on a separate print. Allow time for artwork approval, production, delivery and setup instead of treating the event date as the dispatch date.
6. Edges and mounting: reserve space before exporting
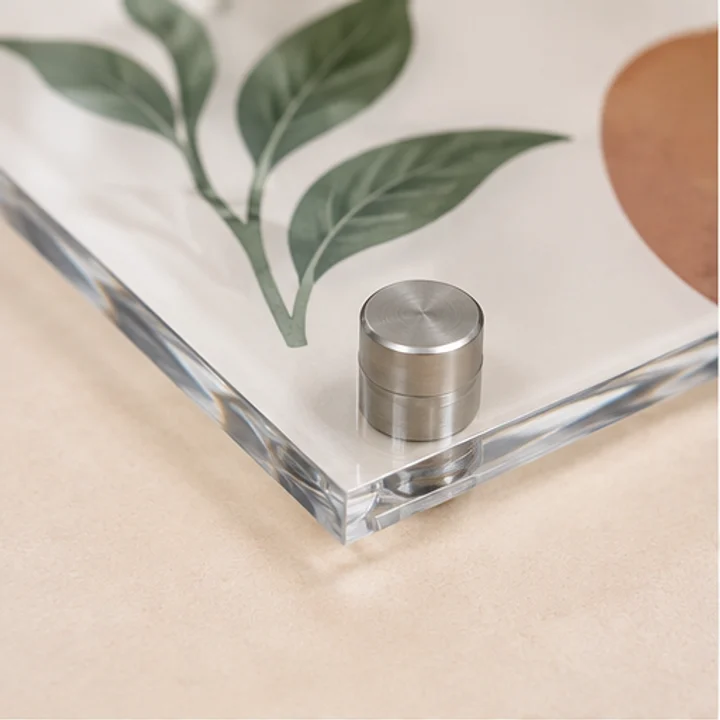
Keep lettering and logos clear of mounting positions. Confirm hole size and placement for the actual hardware rather than copying spacing from a reference image. If you are replacing an existing sign, supply measured hole centres and a dimensioned drawing; a photo alone is not a reliable scale reference.
Standoffs create space between the panel and wall. Adhesive mounting depends on the surface and the installation requirements. Select from the options available for your material and discuss any unusual support. Our acrylic mounting guide covers the main approaches, but the final fixing choice still needs to suit your site.
Care for the panel and the print
Avoid rubbing dust or grit across the surface. For the acrylic itself, manufacturer ACRYLITE recommends gentle cleaning with mild soap, lukewarm water and a soft cloth, and warns against unsuitable solvents and abrasive products. See its care and cleaning instructions.
That is general acrylic guidance, not a claim that your order uses that brand or that every cleaner is suitable for printed ink. Follow the care advice for your finished sign and confirm before applying a cleaning product to the printed surface. Protect the faces and edges during storage and transport.
Copy this acrylic artwork checklist
| Check | What to confirm |
|---|---|
| Finished dimensions | Width × height in mm, quantity and orientation |
| Background | Wall photo; intended transparent and opaque areas |
| Reading order | Main name first; essential details readable from position |
| Print setup | Intended appearance confirmed before approval |
| Mounting | Support, hardware and measured hole positions if required |
| Proof | Spelling, dates, contact details and QR code checked |
| Inclusions | Panel, selected finishing and any separate accessories |
FAQ
Is 3mm acrylic always the right thickness for a wall sign?
No. Suitability depends on the panel size and support as well as the desired appearance. Discuss large panels or unusual mounting before ordering; a catalog photograph cannot establish the right thickness.
Will the clear parts look white like my artwork preview?
Clear areas reveal what is behind the panel. Confirm which parts should stay transparent and which should be printed opaque, then assess the design against your actual background.
Is a printed acrylic panel the same as cut-out letters?
No. This guide concerns artwork printed on a panel. Separate acrylic letters create individual letter shapes and use a different ordering and mounting process.
Order your acrylic sign
Use our 3mm acrylic signboard calculator for the current price and finishing choices. For the complete order brief, including deadlines and quantities, see our signboard checklist.