
For year-end sale signage, give each print one job: a window message that attracts attention, an entrance sign that helps people find the offer, or a price card they can read beside the product. Choose the wording and placement first, then quote the size and material. Keep changing prices on smaller prints so a price update does not require replacing the whole display.
Start with posters for a flat indoor display, banners where you have suitable fixing points, or window cling when a glue-free glass display suits the selected product and surface.
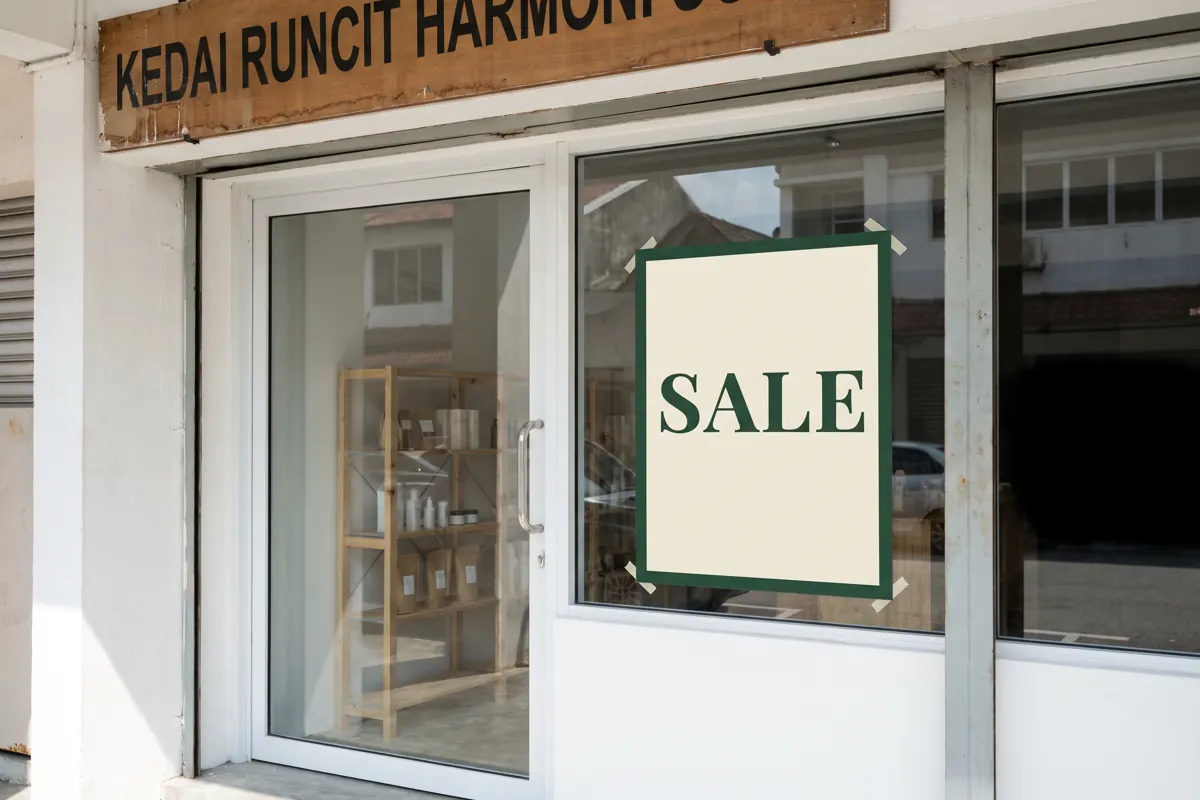
AI-generated shopfront concept. All five illustrations in this article are examples, not customer jobs. The word SALE is placeholder artwork, not an advertised Tandaku offer.
Why plan the year-end display now?
Malaysia's year-end sale season is already under way in November 2026. Tourism Malaysia's national campaign announcement, published on 7 June 2024, included a year-end sale in its 2026 schedule. Individual retailers set their own campaign terms: for example, Bosch's 2026 Year-End Specials leaflet lists a campaign from 13 November 2026 to 31 January 2027.
Use your own approved start and end dates consistently across the display.
If your offer changes during the season, record what stays the same and what will change. The main message might remain throughout the campaign, while individual product prices or participating items change each week.
Give the window, entrance and product display different jobs
A passing shopper has less time to read a window than someone standing at a shelf. Repeating every condition on every sign makes the main message harder to find.
| Position | Main job | Information to plan |
|---|---|---|
| Shop window | Introduce the promotion | Main offer wording, relevant dates and a clear direction to details |
| Entrance | Help people locate the offer | Where it is inside the shop and any necessary direction |
| Product display | Explain the specific purchase | Correct product, current price and applicable offer details |
| Counter | Answer a final question | Redemption steps or other approved details needed at that point |
Sketch the route from outside to the offer. Check the display from the public approach, then from inside the shop. A poster facing the street may be unreadable to people already in the queue; a counter card may be too small to serve as the window headline.
Keep a list of locations and quantities. "Two window posters and six product cards" is easier to check than "eight sale signs", particularly if the artwork differs between them.
Make the main offer readable before adding detail
Set a clear reading order. The offer headline should be easy to find; the next line can explain which products it covers. Put the necessary smaller details where a customer can stop and read them.
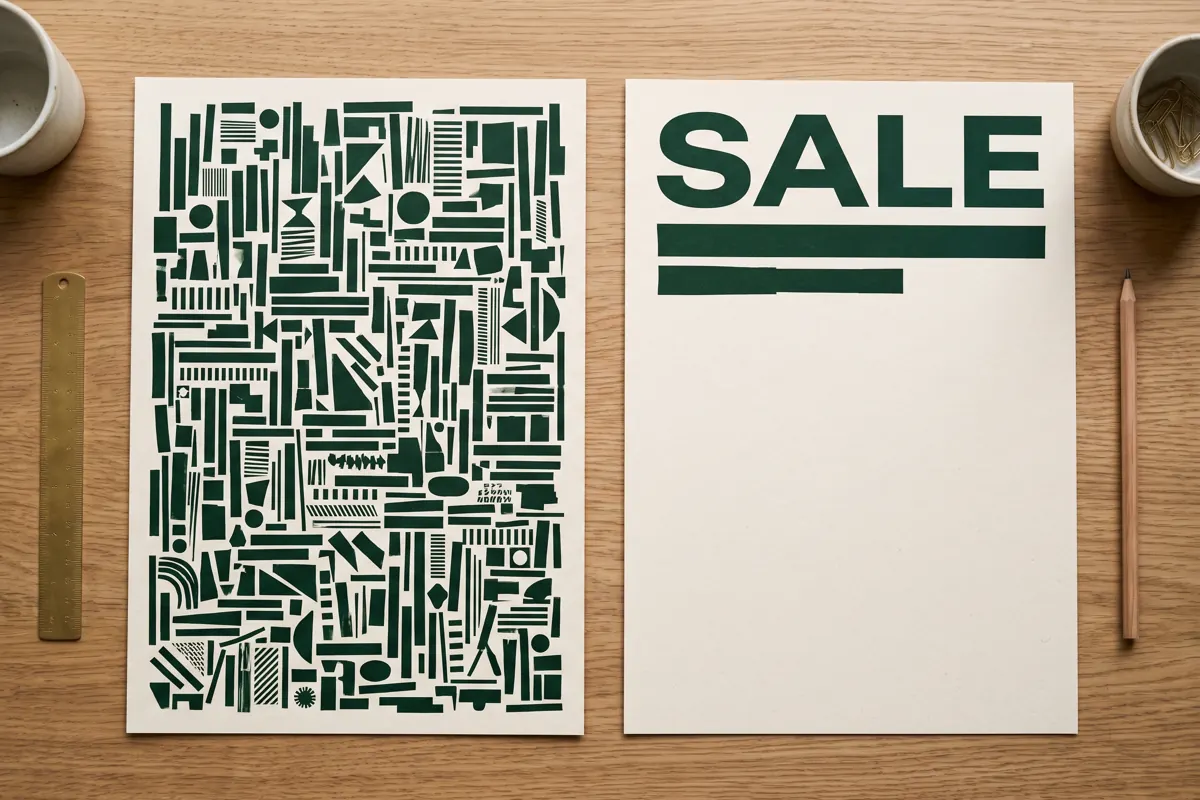
Layout illustration: the right-hand concept gives the main message more space. Abstract bars stand in for approved supporting wording.
Print a paper mock-up at the intended size and view it from the actual approach. Check whether reflections, shelving or another notice compete with it. Enlarging a small layout can make the headline bigger, but it also changes how the supporting text and margins feel.
For a bilingual display, decide the reading order before adding the second language. Give both versions enough room. Ask someone to read the final wording as a customer would, rather than relying on the editable file at a comfortable zoom level.
Use the banner design examples for more layout ideas. Those examples are references; the final artwork still needs your actual wording, dimensions and finishing.
Choose the print format from the installation
Measure the usable display area and check how the print will be held. The advertised size of a window or frame may include borders and fittings that reduce the visible area.
| Format | When to consider it | Check before ordering |
|---|---|---|
| Poster | A flat display inside a shop, frame or holder | Visible opening, print size, selected material and fixing method |
| Banner | A larger message with suitable support | Actual span, eyelets or pockets, edge finishing and fixing points |
| Window cling | A temporary glue-free glass display | Glass suitability, selected clear or opaque option, viewing side and fitting requirements |
| Window sticker | An adhesive glass graphic | Material, viewing side, installation and eventual removal requirements |
A loose print does not automatically include a frame, stand or fitting service. Check the product summary and your existing hardware. If you are replacing an insert, measure the old insert as well as the frame's visible opening.
For a banner at an exposed entrance, describe the location and support when asking about materials. Do not infer a wind rating from a material name or assume that adding eyelets makes any fixing arrangement suitable.
Keep enough clear glass and a usable entrance
A window display should allow people to understand where the entrance is. Plan around the door swing, handles and the view through the glass. Check the display from both sides before approving the layout.
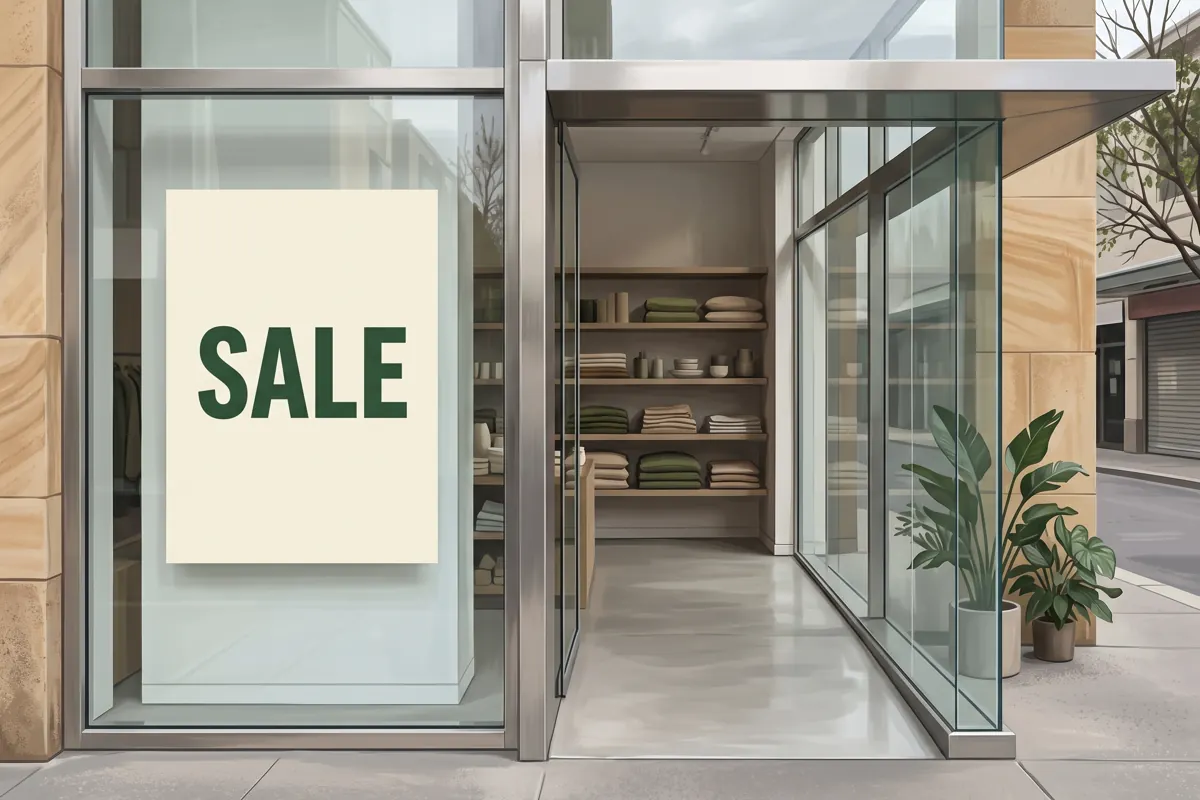
Placement concept only. Confirm the actual glass, viewing side and installation method for your selected print.
Tell the printer whether the design needs to be read from outside, inside or both. The material choice and print construction need to suit that requirement. A clear material does not make every design equally readable from both sides.
If you expect to change the window display often, compare the choices in reusing window stickers for changing shop displays. Reuse depends on the selected construction and handling; an adhesive sticker and a static cling are different products.
Separate changing prices from the longer-running message
A main sale poster can introduce the campaign while a smaller card identifies the product and price. When one product changes, you can replace that card and check the remaining display for consistency.
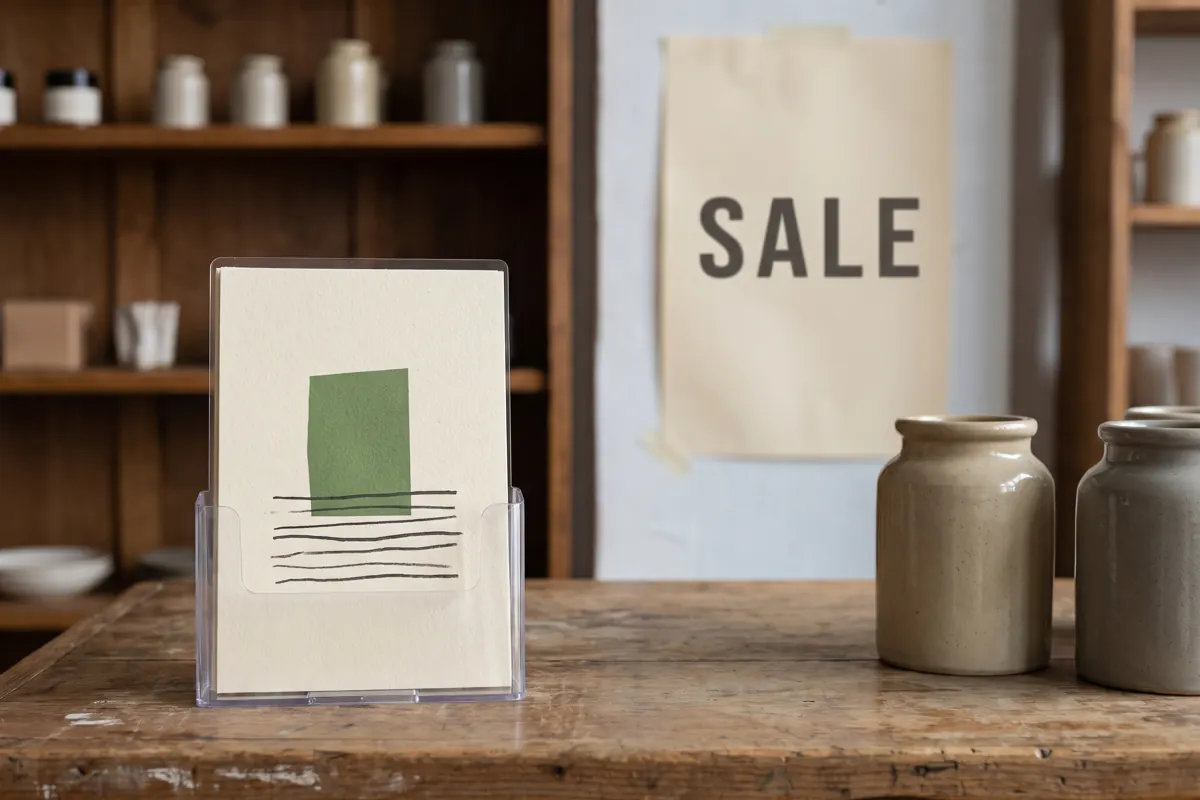
The card's abstract bars are placeholders. Replace them with the exact approved product and price information in your artwork.
For example, a shop could keep one campaign poster in its window and use separate cards for each participating item. Count how many different designs you need and how many identical copies of each one.
Keep a simple artwork register with the filename, location, size, quantity and offer period. When prices change, compare the revised card with the checkout or sales system before printing. Remove superseded cards when the replacement goes up.
Avoid printing temporary prices into a larger sign intended to remain after the promotion. If you want to write and wipe changing information, select a product explicitly offered with a dry-erase surface, such as the available option on magnetic posters. Ordinary printed material or generic gloss lamination should not be assumed to work as a whiteboard.
Check all sizes and versions before approving the proof
Lay the complete set out together. Check that the offer wording, dates and any repeated details agree across the window poster, product cards and entrance print.
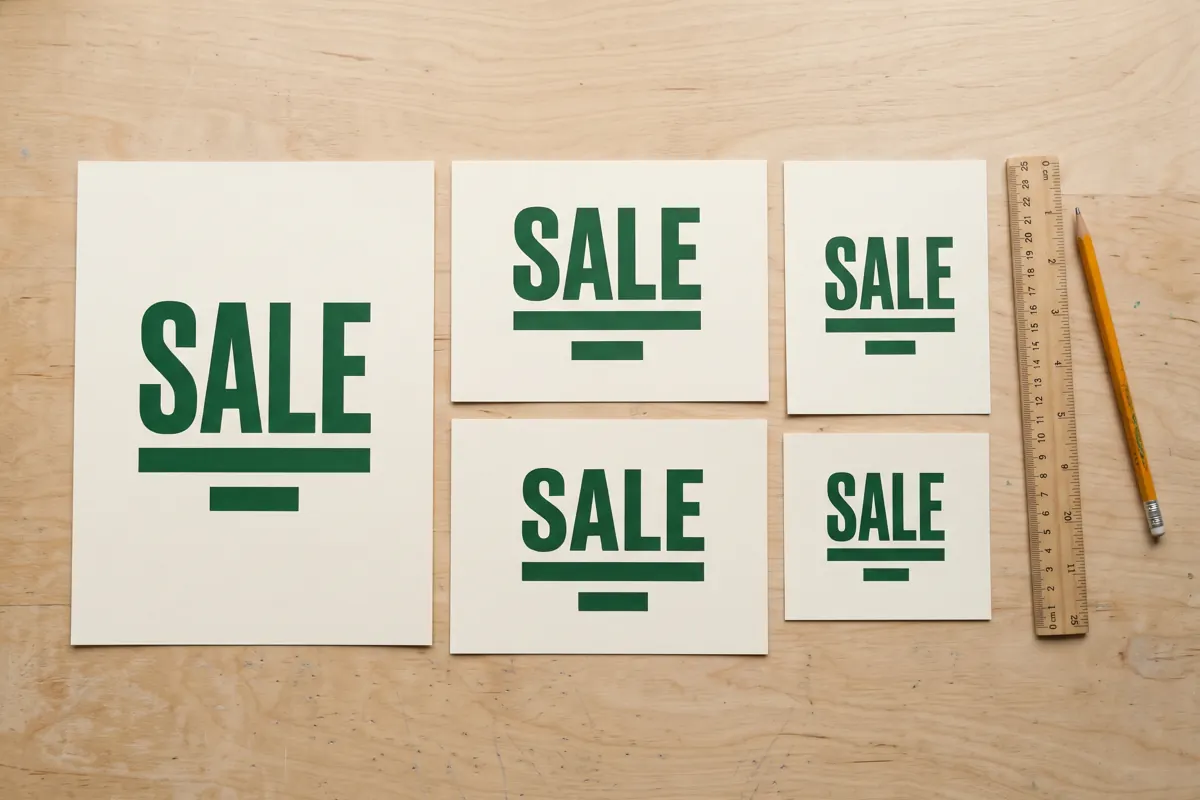
Illustrative proof set. Each actual print needs its own final dimensions and approved content.
Check the finished width and height, orientation and quantity for every version. Confirm the selected material and finishing, especially where a banner has pockets or a poster fits an existing holder. Use the product's current artwork template where provided.
Read small text from the exported file at the intended print size. A screenshot of a design can lose detail; keep the original artwork available. For file preparation, follow the artwork checklist.
Approve the exact proof for the intended order. Printing checks do not establish that your prices, offer conditions or advertising claims are correct; have the responsible person in your business verify those before approval.
Build the quote around the display date
Give the date the display needs to be installed, the delivery location and the specifications for each print. Check the current configured price and readiness information before paying.
Production timing and courier arrival are separate. Allow for artwork revisions and fitting the signs after collection or delivery. An Express production choice should not be treated as a guaranteed arrival date.
Use the banner price guide for linked banner calculations, or configure your poster order directly. Compare matching sizes, quantities and finishing so the quoted totals describe the same job.
Frequently asked questions
Which print should I use for a year-end sale window?
Choose from the placement and fitting method. A poster suits a flat indoor display; window cling and adhesive window stickers have different glass and application requirements. Confirm the viewing side and selected product before preparing the artwork.
Can I keep the main sale sign and change only the prices?
Yes, you can plan separate product price cards alongside a longer-running campaign message. Keep the offer details consistent and check which prints need replacing when an offer changes.
Does a banner order include a stand?
Check the selected product summary. A loose banner print and a complete stand package are different orders. Specify the required hardware rather than assuming it comes with the print.
What should I send for a sale-sign printing quote?
Provide each print's finished size, quantity per design, material or intended location, fixing requirements and approved wording. Include the installation date and delivery location so production and delivery can be checked separately.
Quote the prints for your display
Choose posters, banners, window cling or window stickers from the actual placement. Keep your location list and final artwork together when checking the order summary.