
Apply a car sticker to a clean, dry, sound surface after checking its position with the backing still attached. For a straightforward flat-panel application, expose the adhesive gradually and smooth the film as you go, following the instructions for the selected material. Stop if the design needs stretching around deep curves or into recesses, and get fitting advice before continuing.
Which car sticker material suits the panel?
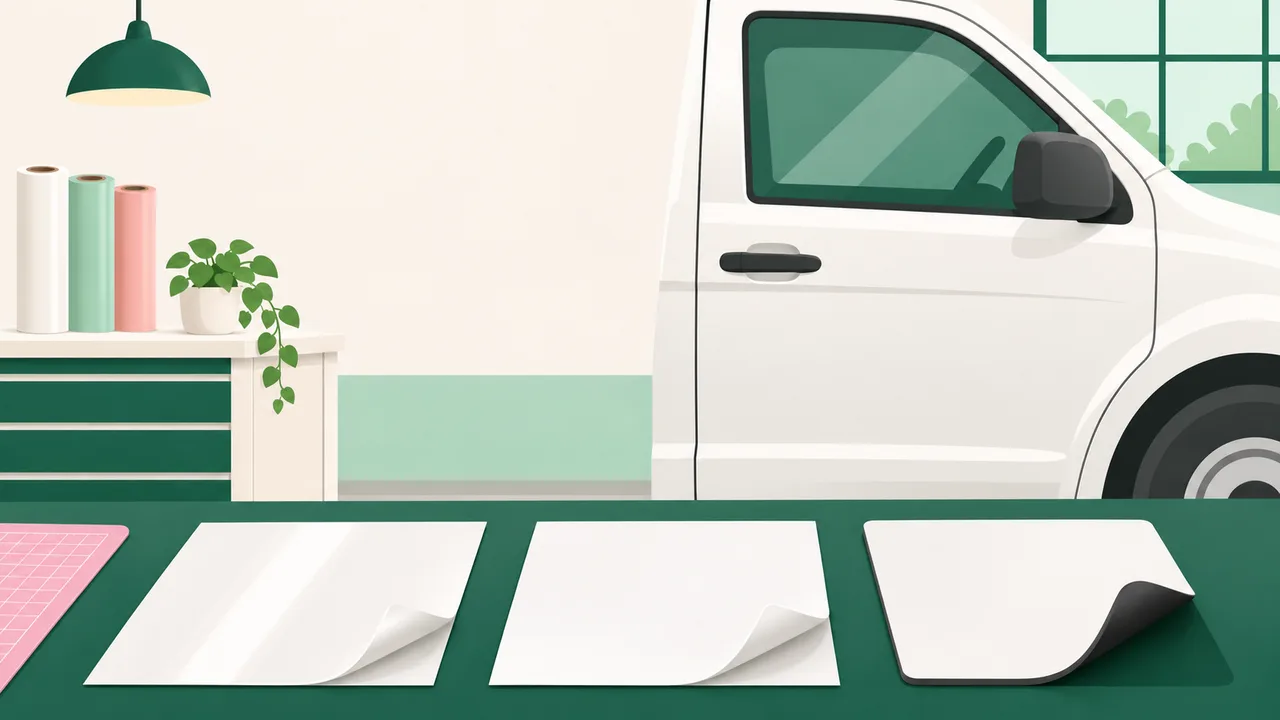
Choose the material before deciding how to fit it. An adhesive sticker and a magnetic sheet need different handling, even when the printed design looks similar.
Tandaku lists these vehicle options:
| Material | Listed use | What to check before fitting |
|---|---|---|
| Polymeric Vinyl | Bubble-free film for car bodies | Whether the intended panel shape suits the film and application method |
| White Sticker | Budget option for flat panels | Whether the whole sticker can sit on a suitable flat area |
| Magnetic Sheet | A removable graphic that lifts off | Whether the intended panel attracts a magnet and allows full contact |
White Sticker is the cheaper choice when a suitable flat panel is enough for the job. Paying for a different material does not fix an unsuitable surface or an awkward position.
Check the options on the car sticker page. For a broader comparison of materials and cutting choices, read the car sticker printing guide.
What should you check on the surface?
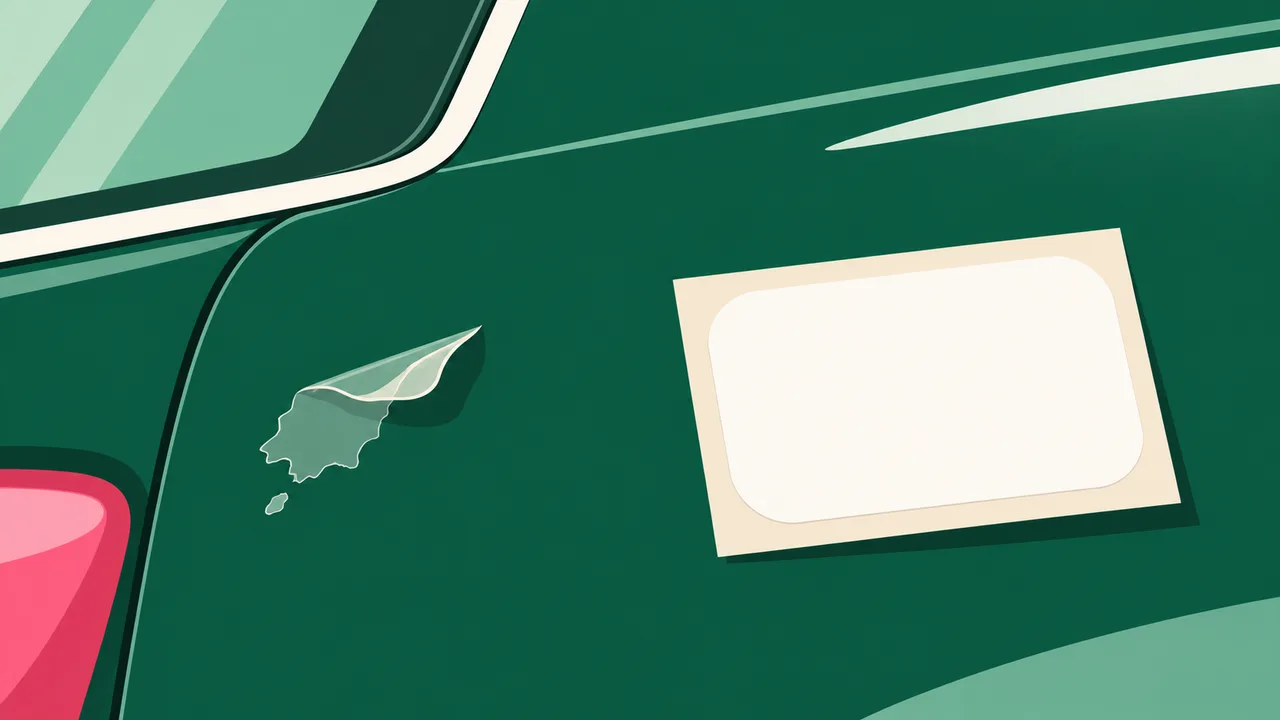
Look closely at the exact area the sticker will cover. Check for loose paint, flaking clear coat, rust, existing film, rough repairs and surface damage. Applying a sticker over a weak layer does not repair that layer.
If the vehicle has been repainted or has a protective coating, check with the paint or coating provider before applying adhesive film. A panel that looks smooth in a photograph may still need different preparation. Tell whoever is advising on the film about that surface history.
Wash away dirt and let the area dry. Check the edges, grooves and nearby trim as well as the middle of the panel, because trapped dirt can reach the adhesive while you work. Use preparation products suitable for both the vehicle finish and the selected film.
Do not use a sticker as a shortcut for covering peeling paint. If surface suitability is uncertain, resolve it before ordering the finished graphic.
How do you position the sticker before peeling?

Hold the sticker against the vehicle with its backing attached. Check the complete outline, rather than judging the position from the logo or wording alone.
Look for door gaps, handles, trim, sharp body lines and recesses. A design can fit within the measured width and height but still cross something that makes application difficult. Open the door and check that the planned graphic stays clear of moving edges.
Use a paper template if the sticker has not been printed yet. Match the template to the intended finished outline, place it on the actual panel and step back to judge the position. This is more useful than choosing a size from a photograph without a scale reference.
Check each side of the vehicle separately. Handles, fuel flaps and panel shapes can change the usable space, so do not assume a layout can simply be copied across.
Keep placement marks on the backing or on suitable temporary positioning tape. Avoid making marks directly on the paint.
How do you apply the sticker without trapping folds?
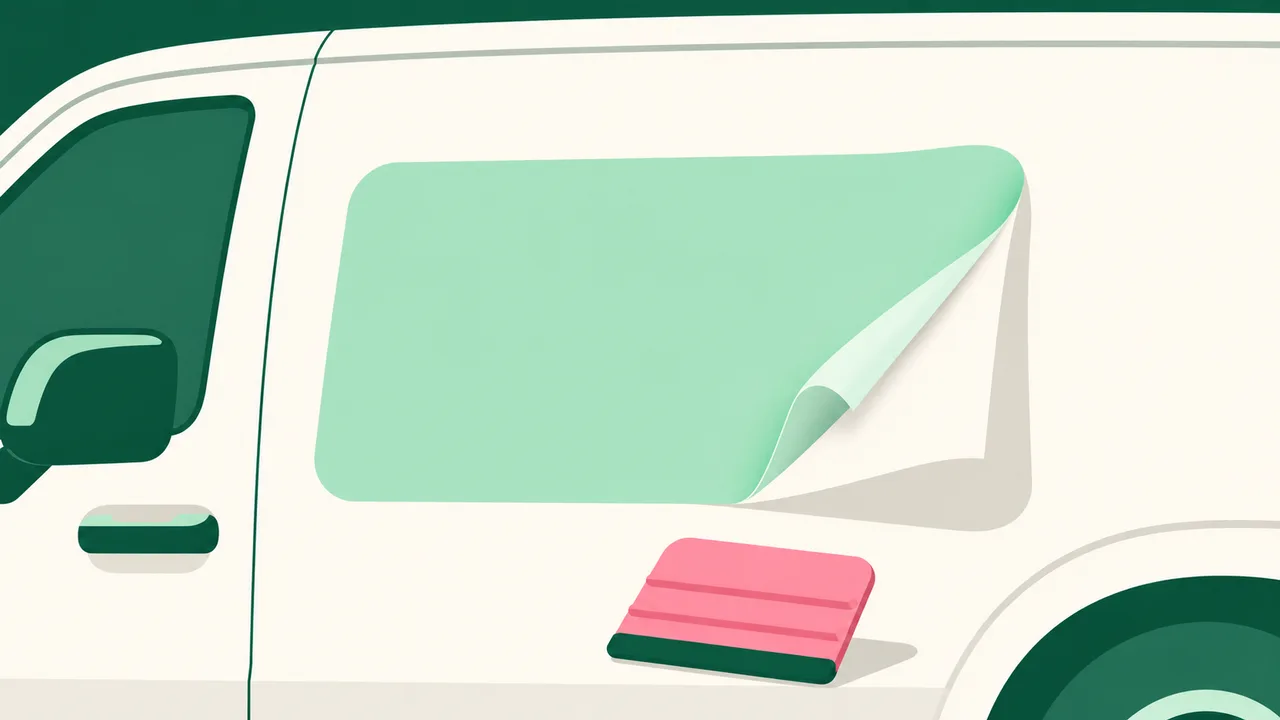
First identify which layers you have received. The release backing covers the adhesive; some designs may also have application tape over the front to hold separate elements in position. If the layers are unclear, check before peeling anything.
For a simple flat-panel sticker, establish the position while the backing remains attached. Use positioning tape suitable for the vehicle finish to hold the alignment, following the film's application instructions.
Peel back a manageable part of the backing rather than exposing the whole adhesive face at once. Keep fingers, dust and loose clothing away from the adhesive. Let the film settle onto the panel without pulling it tight.
Use a suitable application tool with a clean, protected edge. Smooth from the area already attached towards the free edge, working progressively so air has a route out. Keep checking alignment as you expose more adhesive.
If the film starts to fold or stick to itself, pause. Do not press a crease firmly into place and expect it to disappear later. Follow the selected film's instructions before attempting to lift or reposition it.
The product description calls the polymeric option bubble-free, but careful preparation and handling still matter. Do not assume that wet application, heat or repeated repositioning suits every sticker material.
What should you do if the panel curves or the sticker lifts?

A flat sticker becomes harder to fit when the panel curves in different directions or drops into a deep recess. If the film only reaches the surface when stretched, stop and review the material, layout and fitting method.
For a simple business graphic, moving the design onto a flatter area may solve the problem. Reducing the outline or dividing the layout around panel features can also be worth discussing before printing.
Do not cut a fitted sticker against the vehicle paint to make it follow a door gap. Plan separate graphics or an appropriate cut outline before application.
If an edge lifts, inspect the cause before pressing it down again. Dirt, surface condition, panel shape or tension in the film may need attention. Adding another adhesive without checking compatibility can create a different problem.
For a large graphic, a difficult curve or an unfamiliar vehicle finish, consult an installer before ordering. Tandaku supplies printing; place a supply-only order when you are handling fitting separately.
What should you confirm before ordering?
Prepare the finished width and height, intended panel, material, quantity and cut outline. Include a clear photograph of the actual fitting area when asking about suitability, and describe any repainting, coating or existing film.
Make sure the artwork matches the shape you intend to apply. A rectangular printed background and a graphic cut around its outline leave different amounts of material on the vehicle. Neither should be assumed from a reference picture alone.
Keep important wording clear of the planned cut edge and check that it remains readable in the chosen position. Use the artwork preparation guide when preparing the print file.
Select the size and material on the product page to see the price before ordering. Confirm how the sticker will be fitted before approving the final artwork, especially when the layout approaches handles, trim or panel gaps.
FAQ
How to apply car stickers?
Check that the surface is suitable, clean and dry, then test the position with the backing attached. For a straightforward flat-panel sticker, expose the adhesive gradually and smooth towards the free edge using the selected film's instructions. Get fitting advice if the job needs stretching or shaping around recesses.
Where to put car stickers?
Choose a suitable panel where the whole graphic can sit without crossing handles, moving gaps or difficult trim. Check the outline on the actual vehicle before printing. Keep the driver's view and vehicle lights unobstructed.
Do car stickers come off easily?
Ease of removal depends on the film, its condition and the surface underneath. Do not assume an adhesive sticker will lift away cleanly or remain usable afterwards. Read the car sticker removal guide before peeling an existing graphic.
Where to print car stickers?
You can select a material and enter your finished size on Tandaku's vehicle sticker page. Check the price and selected options before placing a supply-only order. Arrange the fitting method before approving the artwork.